
Manage tests
A test is how an acceptance criterion stops being a claim. Every test traces back to a stakeholder need, a requirement, or a specification, and it produces a pass or a fail.
Design Control works on a Test work type, and creates one if your space has none, so you can record and trace tests without installing anything else. If you already run a test management app, it uses that app’s Test work type instead, and the steps and the runs stay where your testers already work: Xray, Appsvio Test Management, QMetry, Zephyr and TestRail are all supported. The screens in this guide are Xray’s, so yours will differ on another app; see that app’s own documentation for the test side.
Verification or validation
A test is either a verification or a validation, depending on what it traces back to.
Timing follows the source item, not the test itself. A verification test may be written as soon as the specification exists, and becomes mandatory once the specification reaches Ready for QA. A validation test may be written as soon as the stakeholder need is In review, and becomes mandatory once the need reaches Covered.
What a good test looks like
The acceptance criteria of the linked item say what must be true. The test’s description and steps say how to confirm it. If you cannot write the test from the acceptance criteria, the acceptance criteria are not precise enough.
| Field | What goes in it |
|---|---|
| Summary | A brief description of what is being tested. Do not repeat the Type. |
| Description | A Given / When / Then scenario derived from the acceptance criteria of the linked item. Gives the overall context for the test steps. |
| Type | The test level: System, Integration, or Unit. |
| Linked stakeholder needs | Set for a validation test. |
| Linked requirements | Set for a verification test. |
| Linked specifications | Set for a verification test. |
| Verification method | How the test is performed: Inspection, Test, Analysis, Review, or Demonstration. |
| Column | What goes in it |
|---|---|
| Action | One action per step, starting with an imperative verb: "Navigate to...", "Enter...", "Click...". Do not combine more than one action in a step. |
| Test Data | The exact values, files, or preconditions for this step, for example patient_id: PT-001, rather than "a valid payload". Leave the cell blank rather than writing "N/A" if no data is needed. |
| Expected Result | The exact, observable outcome that counts as a pass, precise enough that two testers reach the same conclusion. |
Every test must link to at least one source item: a test that traces to nothing proves nothing. Cover one scenario per test, and start a new test for each additional scenario rather than folding it in. An expected result has to be binary, so "the system behaves correctly" and "the response is fast" do not count as a pass or a fail. Test data has to be the exact value, never a placeholder like "valid data" or "test user". Gherkin belongs in the test, never in a requirement or a specification description.
The statuses a test moves through
Create a test
- Open your Jira space, then open the Design Control tab and select the Tests tab.
- Click + New Test to open the creation wizard.
The New Test button above the Tests table, under the warning counters for inactive and incomplete items. - Fill in the Summary, Description, and Type, then click Create.
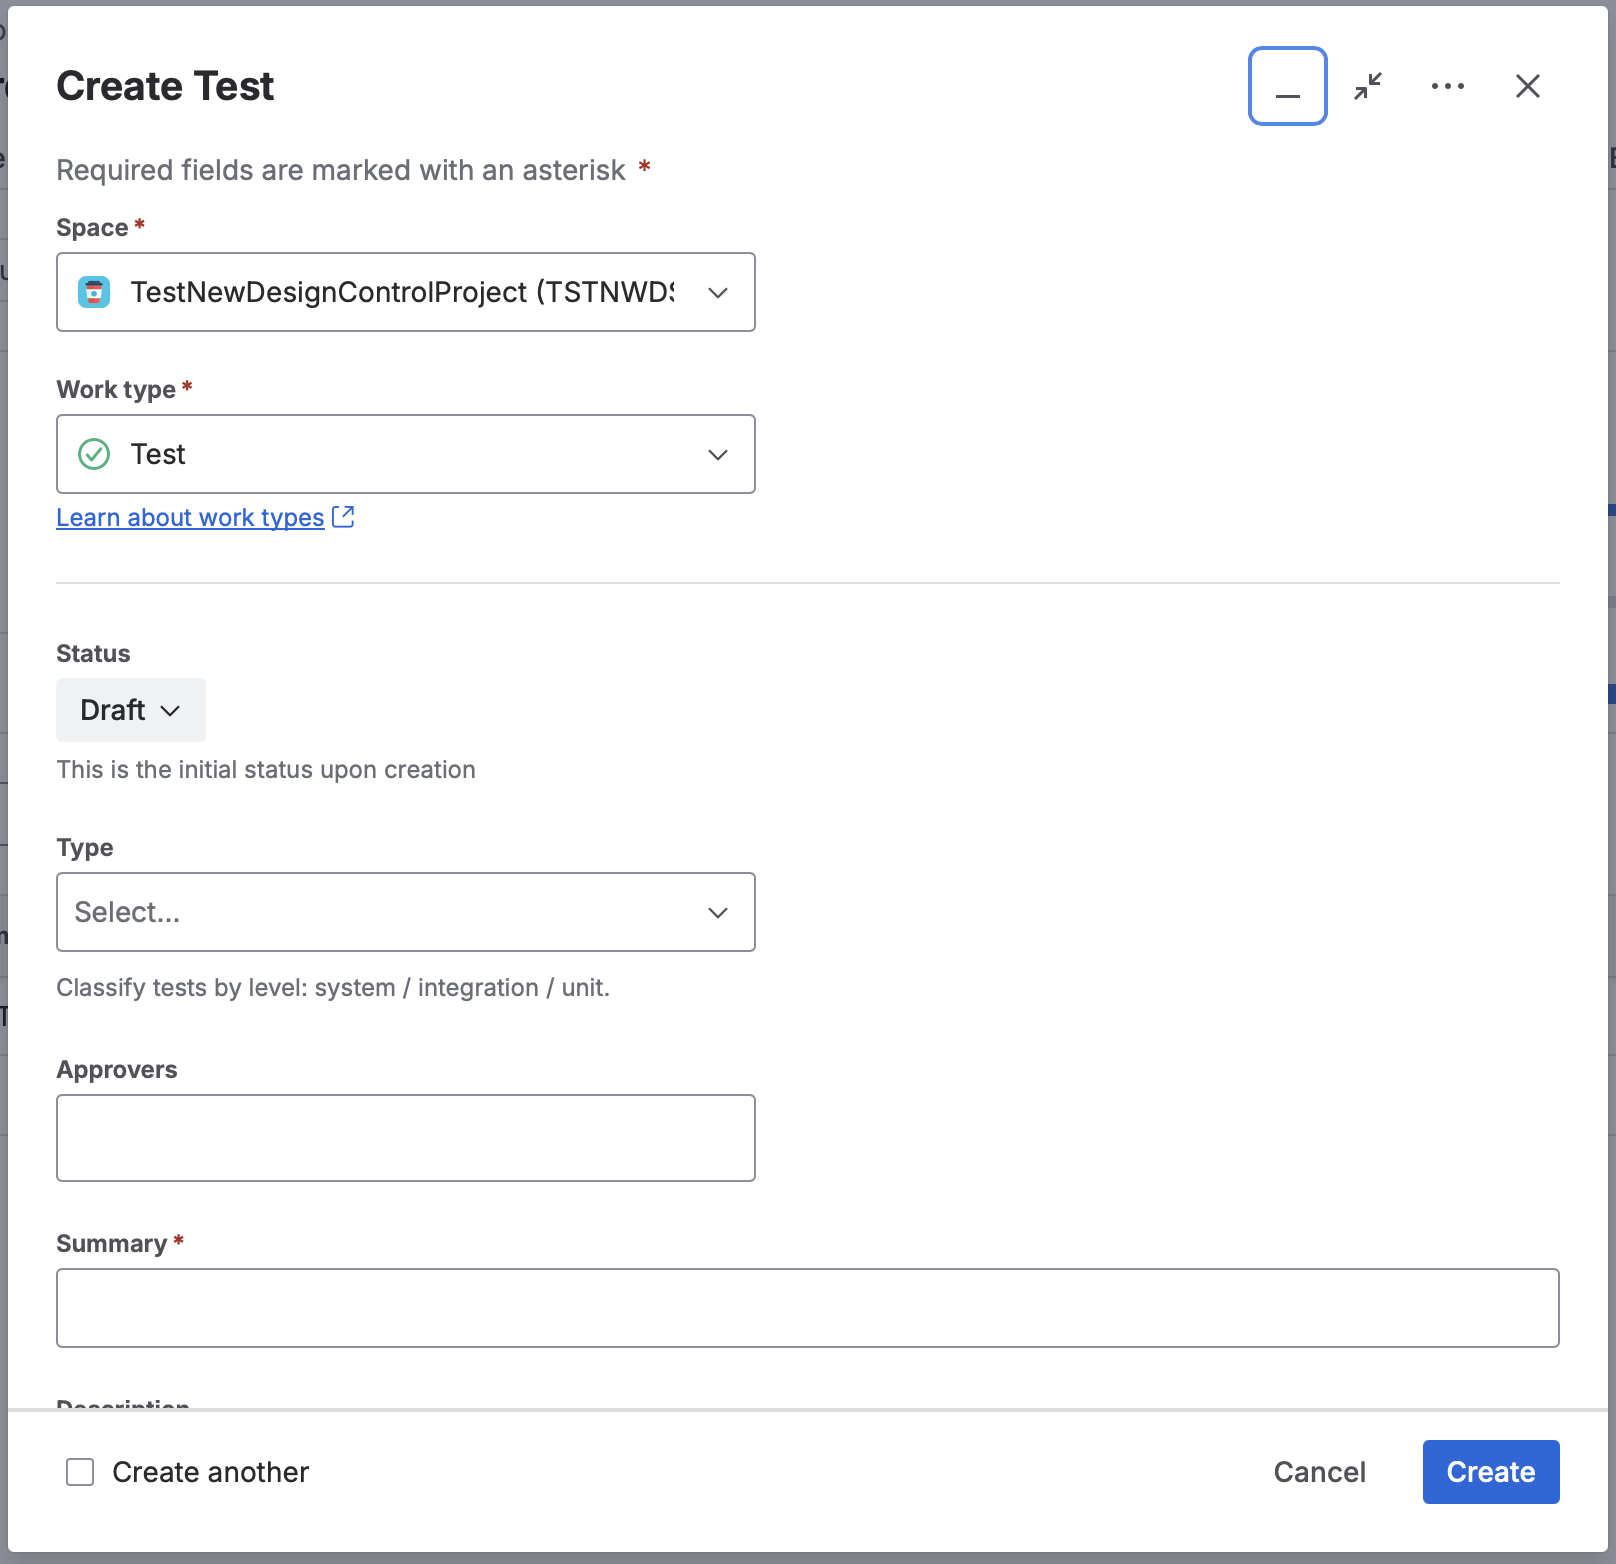
The Create Test dialog, with Space, Work type, Type, Approvers, and Summary. - Open the work item to complete the rest of the fields.
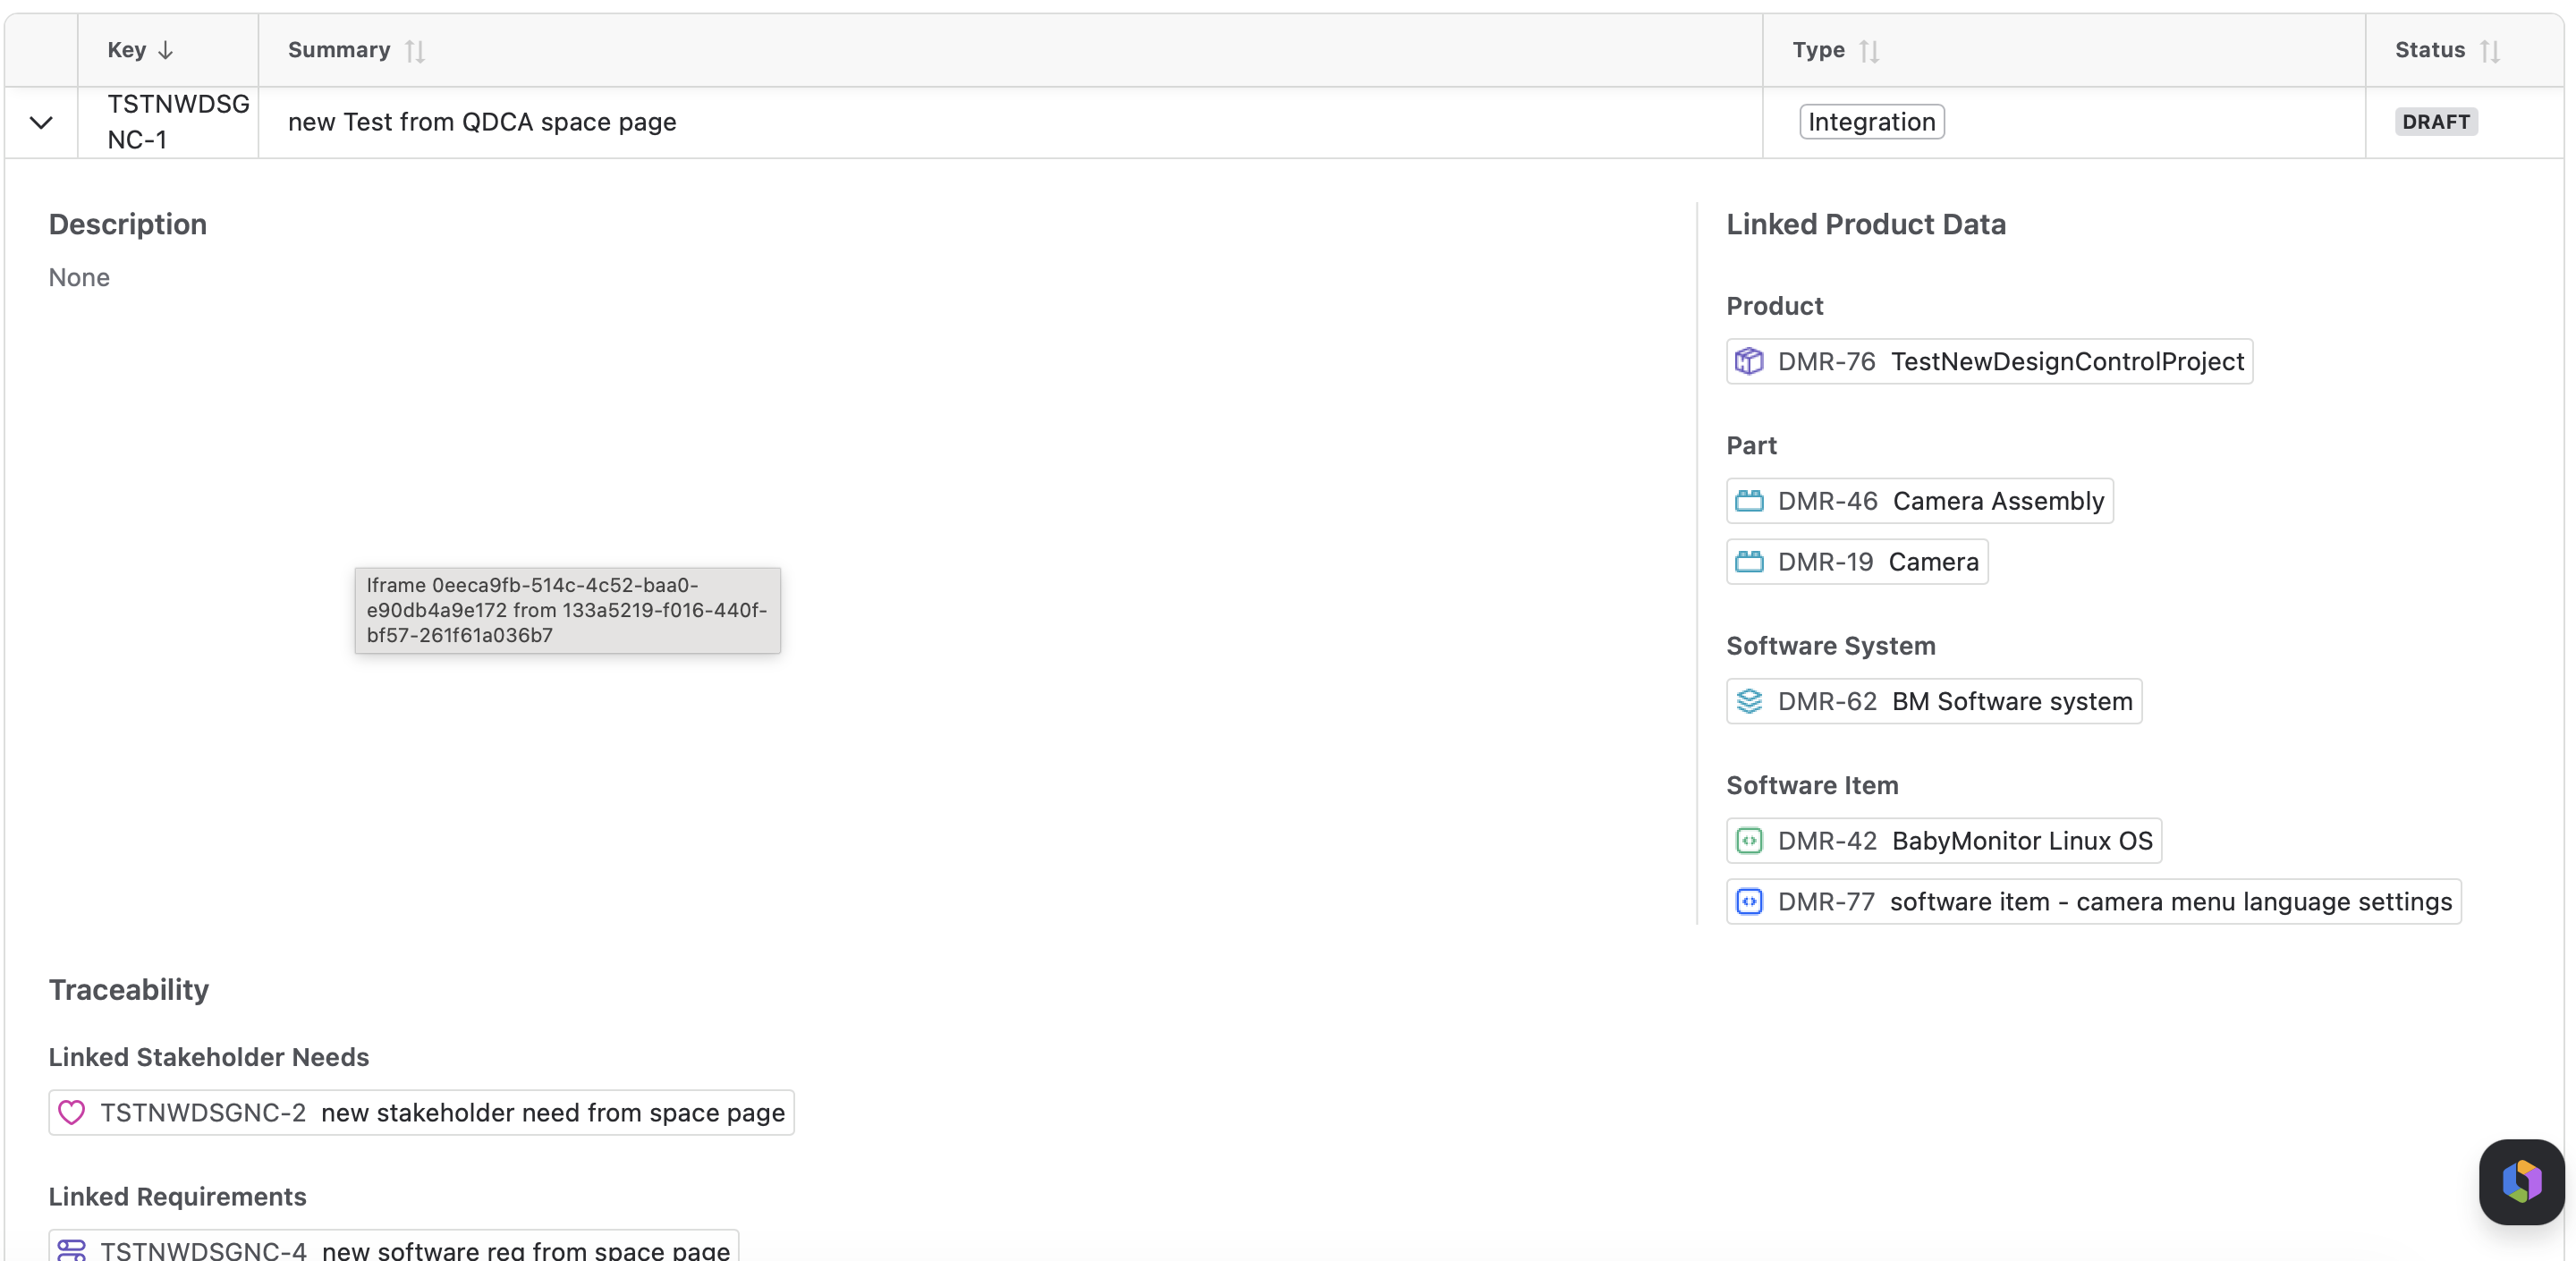
The opened test, showing its Description, Linked Product Data, and the start of its Traceability section.
Write the test content
- Move the test to In development.
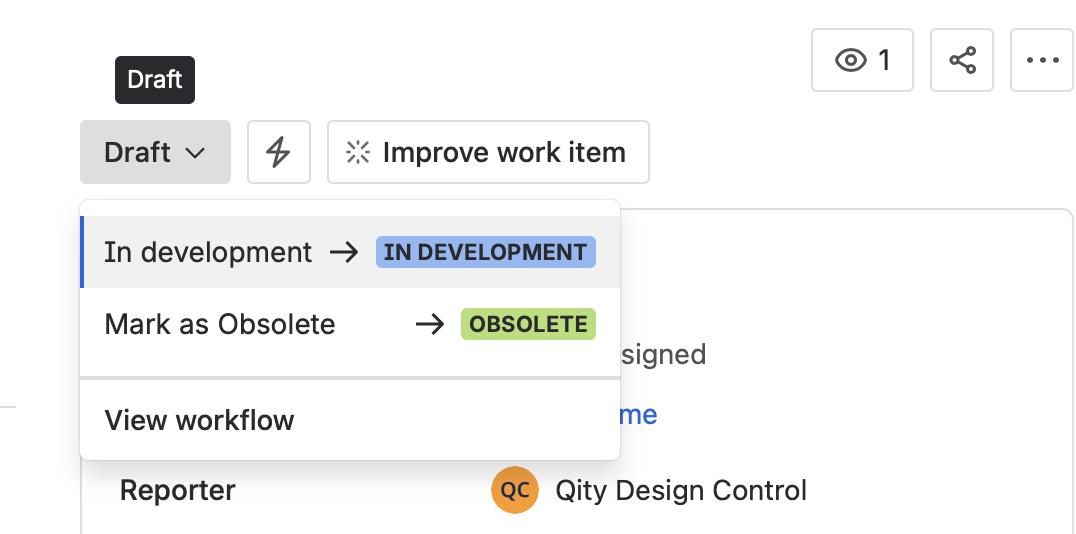
The status dropdown on a Draft test, with In development and Mark as Obsolete as the two available transitions. - Fill in the Summary, Description, and Type.
- Link the stakeholder need, requirement, or specification the test verifies or validates, and fill in the product data.
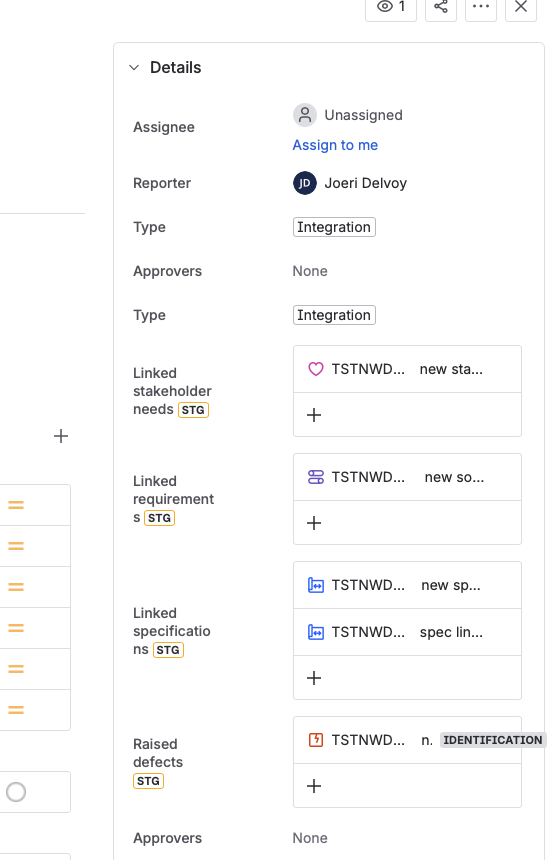
The test’s details panel, with its linked stakeholder needs, requirements, and specifications. - Set the Approvers, and add the test to any applicable Test Set.
- Write the content itself: the Xray test steps for a manual test, or a Cucumber scenario in Gherkin for an automated one.
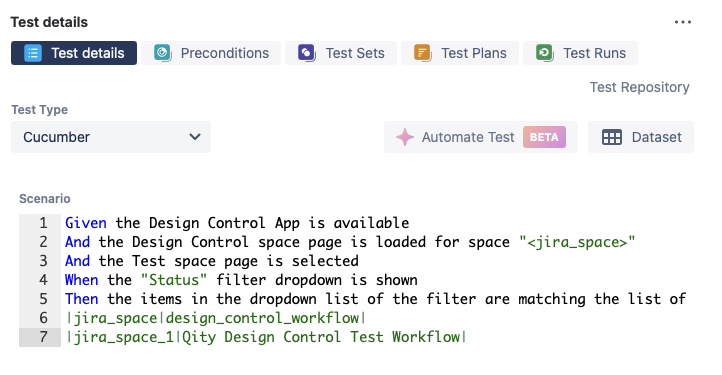
The Xray Test details panel, with Test Type set to Cucumber and a Given / When / Then scenario.
Approve a test
- Move the test to In review.
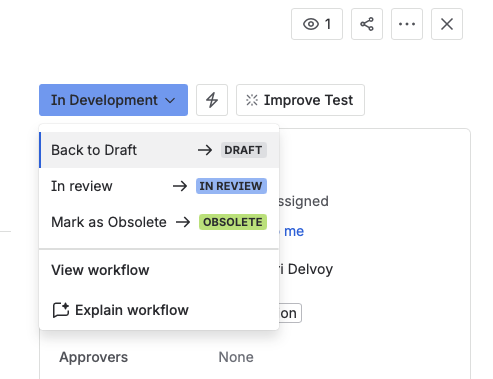
The status dropdown on a test In Development, with In review, Back to Draft, and Mark as Obsolete as the available transitions. - As the reviewer, check that the links to the stakeholder need, requirement, or specification, and to the product data, are correct, that the Type is right, and that the Description summarises the test.
- Click Approve or Reject, adding a comment where needed.
- Enter the passcode Qity emails you in the Signature dialog, and click Sign to confirm.
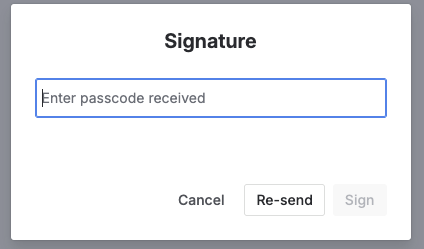
The Signature dialog, with a field for the passcode and Cancel, Re-send, and Sign. - The decision is recorded once the passcode is confirmed, and the test moves to Approved or Rejected.
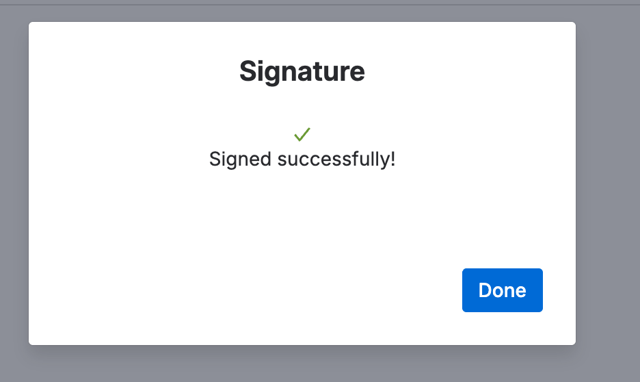
The Signature dialog after a successful signature, showing Signed successfully! and Done.
Run a test
- Click the top Create button, choose the space, and set the work type to Test Plan.
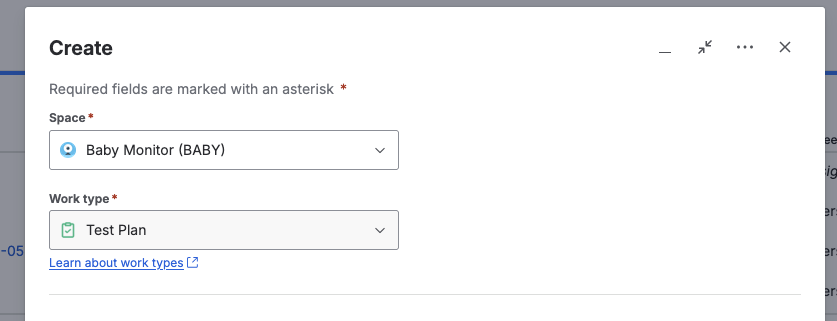
The Create dialog, with the Space set and Work type set to Test Plan. - Give the test plan a name and a description, then add the tests it covers.
- Create a Test Execution from the test plan, or from the test itself, as long as you link it back to the plan.
- Run the test and record the result. See Xray for the run itself.
Make a test plan even for exploratory or ad hoc testing. It is what ties any defects raised during the run back to a version, so unstructured testing still leaves a record.
Retire or replace a test
- To retire a test, open it and move it to Obsolete.
- To replace one, open the ... menu and choose Clone.
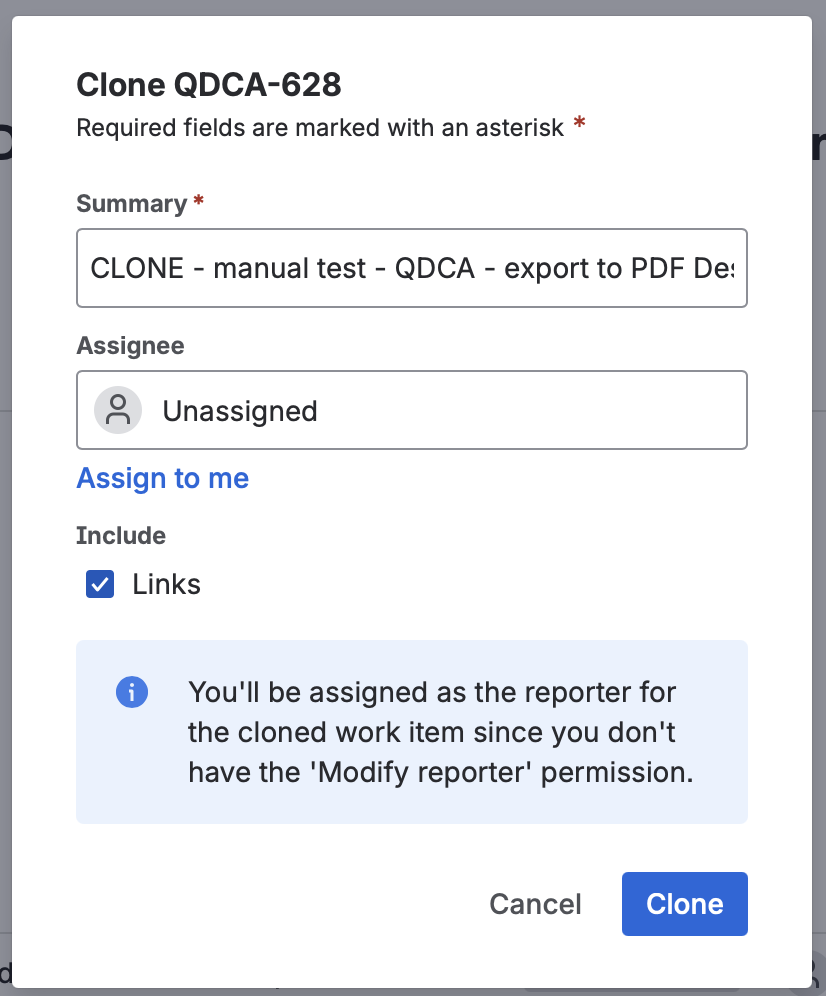
The Clone dialog, with the CLONE prefix on the Summary and Include: Links checked. - Keep Include: Links checked so the links carry across, and remove the
CLONE -prefix from the Summary. - Move the old test to Obsolete, and take the new one through the review steps above.
Export tests to a controlled document
- In Confluence, open the Draft Documents space and create a new document from the Tests template. See Create a document or template for the wizard.
- Open the Tests macro and set Products and any Type filters. Leave them empty to import every test, then choose the Fields to include and click Save.
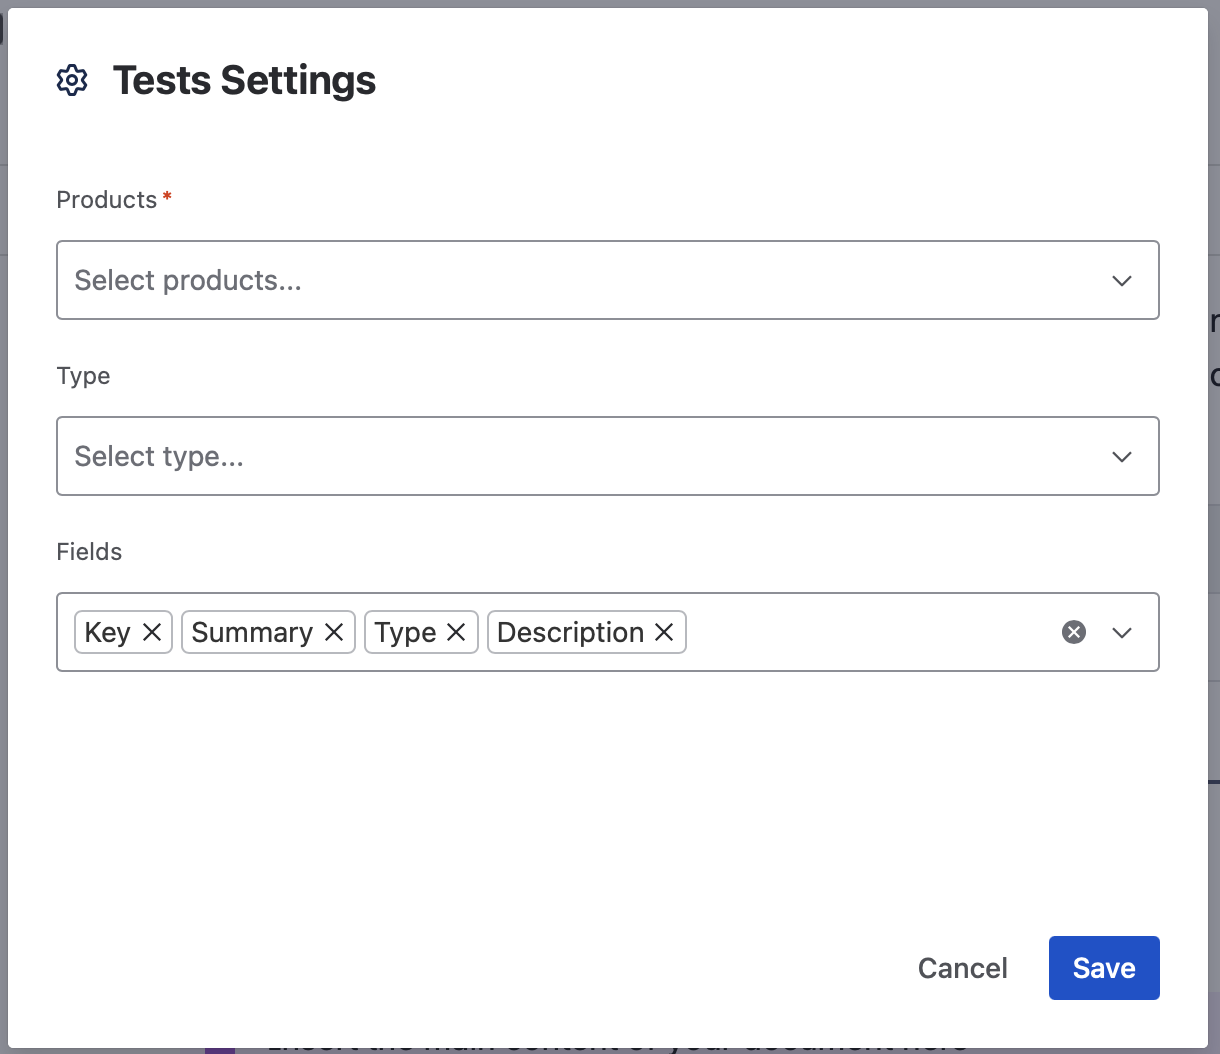
The Tests Settings dialog, with Products, Type, and Fields set to Key, Summary, Type, and Description. - If the macro is not on the page yet, insert it by typing
/tests.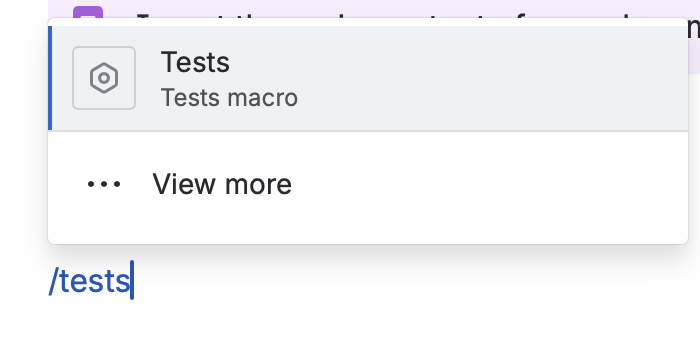
The /tests slash command, with the Tests macro as the suggested match. - To change what was imported, click the macro in edit mode and reopen its settings.
The document itself is then approved through Document Control, like any other controlled document.