
Set up Safety Risks
Safety Risks has no space of its own. You turn it on per space, from that space’s settings, and everything on this page is configured in the same place. An administrator does this once, then runs the health check regularly to confirm nothing has drifted since.
Enable Safety Risks on a space
- Open the space where you want to run risk management, and go to its settings.
- Open the Apps section.
- Turn Safety Risk on for this space.
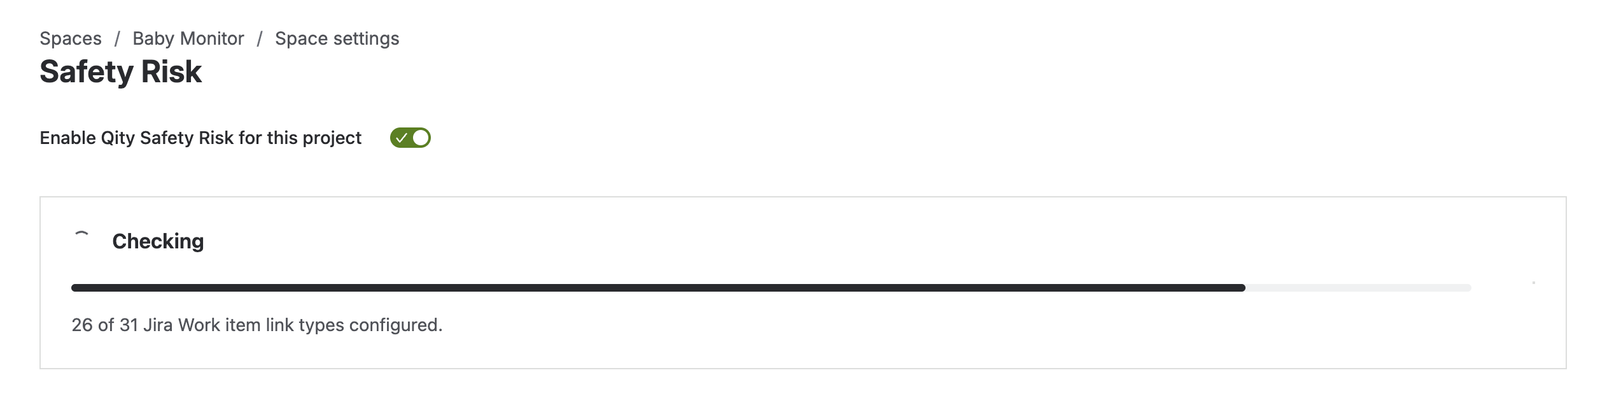
Space settings for the Baby Monitor space, with Qity Safety Risk enabled for the space and the health check already running underneath it. - From the same Apps menu, open Safety Risk to reach its configuration.
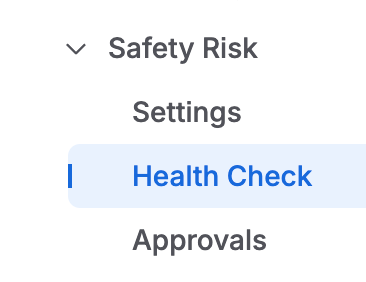
The Safety Risk section of the space settings menu, listing Settings, Health Check, and Approvals.
The apps Safety Risks works with
Safety Risks has no hard dependencies. The health check looks for the spaces and work types below and reports every one of them as optional, so a space with none of them still passes and the app still runs. What you lose without them is reach, not function.
Because they are optional, a passing health check is not a sign that these are in place. It reports the dependency rows as passed whether the spaces exist or not.
Run the health check
The health check compares the space against the configuration the app needs, and repairs what is missing or wrong. Run it after enabling the app, and again after any change to the space configuration.
- In the app, run the health check against the space.
- Read the results. Use Repair all, or the repair action on a single row, where a check reports a problem.
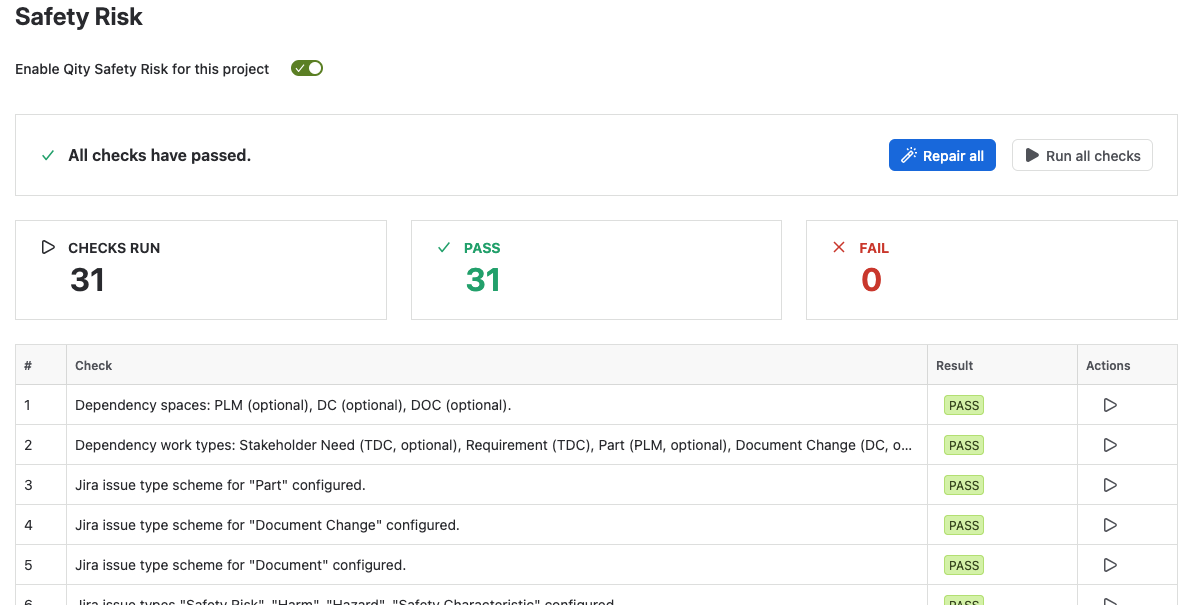
The health check with all 31 checks passed, showing Repair all and Run all checks above counts for checks run, passed, and failed, then the per-check table. - Confirm every check passes before anyone starts using the space.
It runs 31 checks, covering the work types the app needs (Safety Risk, Hazard, Harm, and Safety Characteristic), the issue type scheme that makes them available, the Jira and Forge fields on each, the screens those fields sit on, the workflows behind the statuses, and the link fields that join a risk to its hazard, harm, and risk control.
| Work type | What it holds |
|---|---|
| Safety Characteristic | A property of the device whose deviation from its intended value or behaviour could lead to a hazard or a harm. |
| Hazard | A potential source of harm. |
| Harm | Injury or damage to the health of people, or damage to property or the environment. Carries the severity. |
| Safety Risk | The assessment itself: a hazard reaching a harm by a sequence of events, scored before and after control. |
A work type, field, or workflow edited outside the app is exactly what the health check exists to catch, which is why it is worth running on a schedule rather than only at install.
Configure the risk model
The risk model is what turns two probabilities into a decision, and it is set per space. Everything under Settings here is shared by every risk in the space.
- Open Settings in the app.
- Set the probability bands available for P1 and P2, and the severity scale the harms are graded on.
- Set the risk matrix, which decides the risk level each combination of overall probability and severity produces.
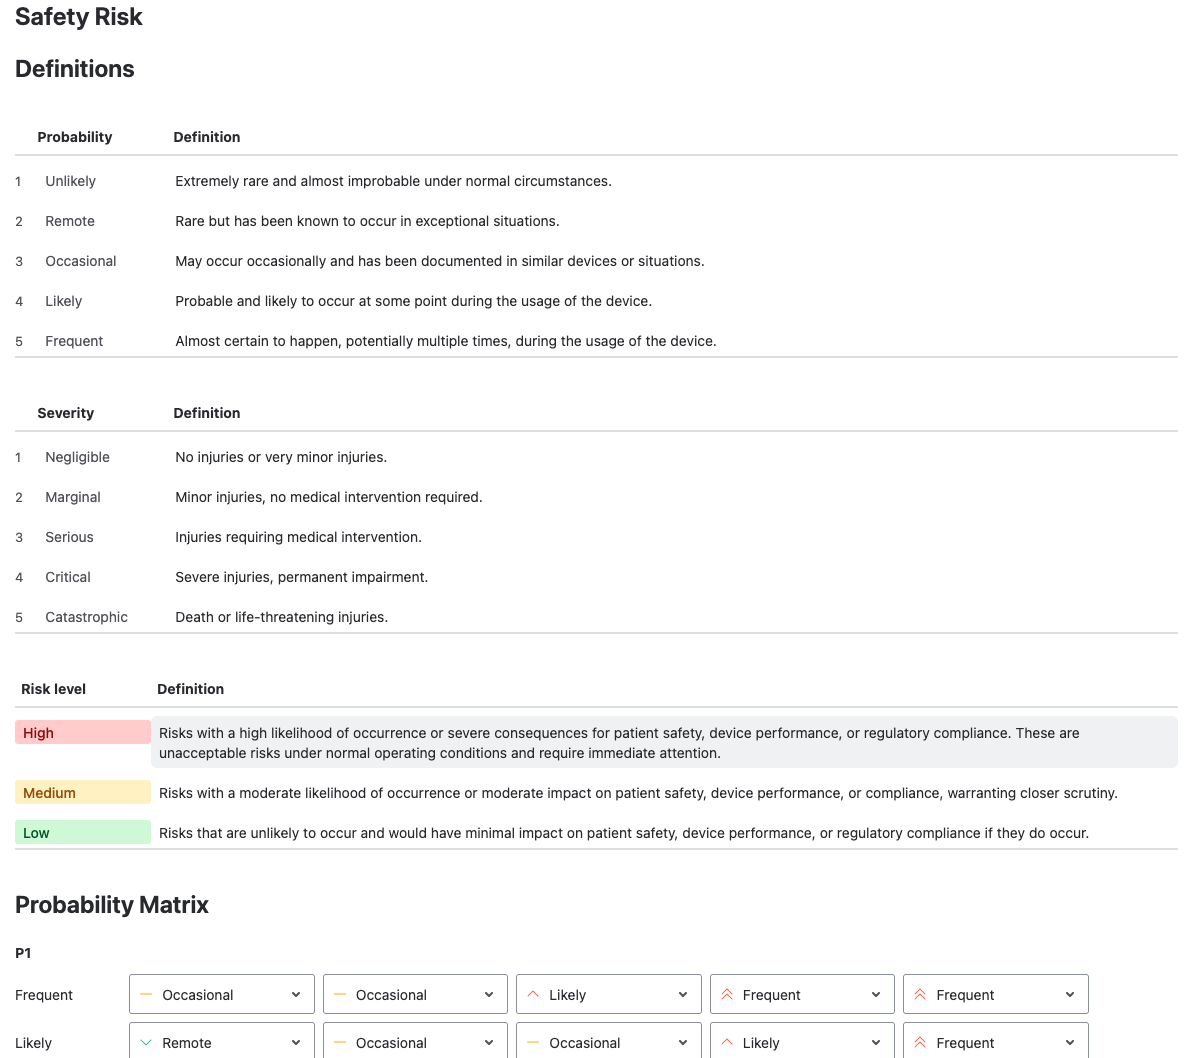
The Definitions settings: five probability bands from Unlikely to Frequent, five severity bands from Negligible to Catastrophic, the High, Medium, and Low risk levels, and the start of the matrix that combines P1 and P2. - Set the acceptability criteria, which decide which risk levels can be accepted directly and which need a risk and benefit analysis.
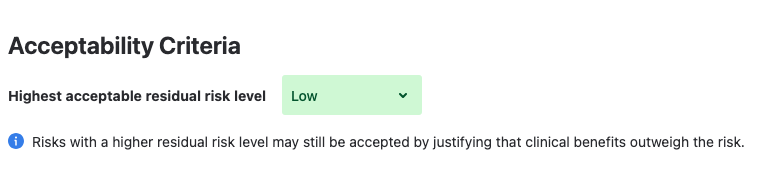
The acceptability criteria, with the highest acceptable residual risk level set to Low and a note that a higher level can still be accepted by justifying that the clinical benefits outweigh the risk.
Settle the model before assessments start. The overall probability and the risk level are calculated, not entered, so changing the bands or the matrix re-scores risks that are already assessed, and a changed score can move a work item to a different status. It is a configuration change with the reach of a data change.
Configure approvals
- Open the Approvals section.
- Set the approvals required at each workflow status, to match how your own procedures say a risk decision is signed off.
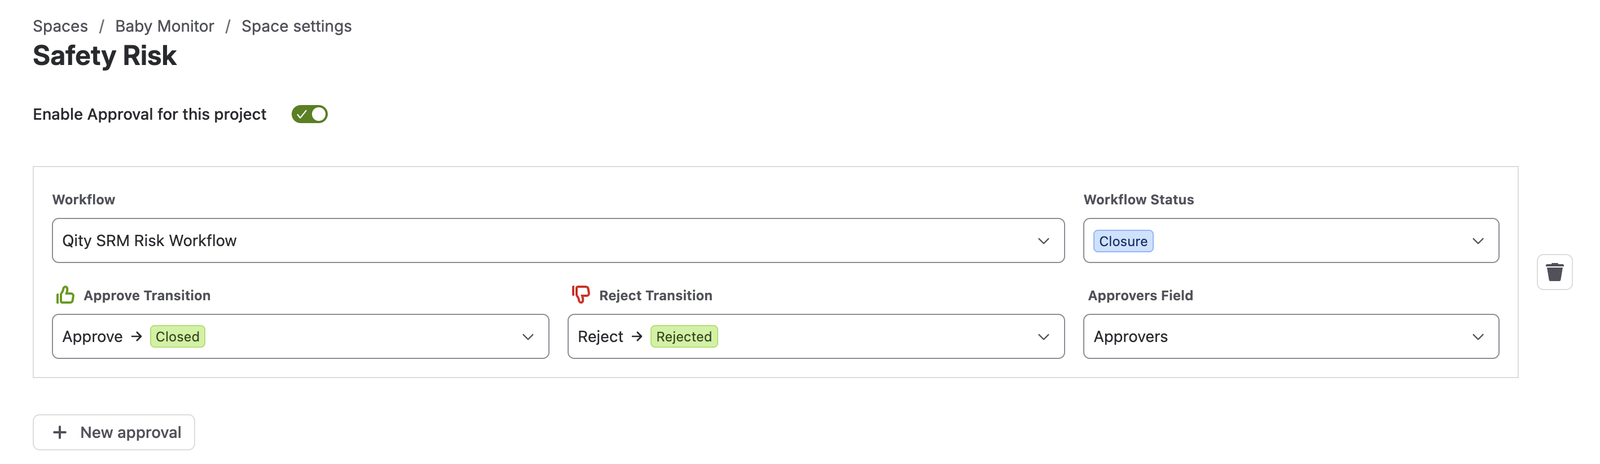
The approvals configuration, with approval enabled for the space and one rule on the Qity SRM Risk Workflow: at the Closure status, Approve moves the risk to Closed and Reject moves it to Rejected, using the Approvers field.
Setting an Assignee on each safety characteristic, hazard, harm, and risk is not mandatory. It is worth doing anyway: on a register of any size it is the only quick answer to who is working on what.