
Manage a deviation
A deviation is any departure from an approved process, procedure, or specification. This guide takes one from first report through evaluation, correction, and disposition, to a signed closure, with the CAPA, task, and cancellation paths along the way.
A planned deviation is authorized before you carry it out, so it needs approval in advance. An unplanned deviation is identified after the fact, once it has already happened. Mark which one it is on the planned field. Either way, the deviation moves through the same statuses from here.
A deviation moves through a fixed set of statuses from report to closure.
New to Quality Events? See Key concepts for the vocabulary used across every guide.
Record a deviation
- Open the Deviations space, click the Quality Events tab, then the Deviations sub-tab, and click + New deviation.You can also reach a deviation from the space All work tab, filtered on the
Deviationwork type.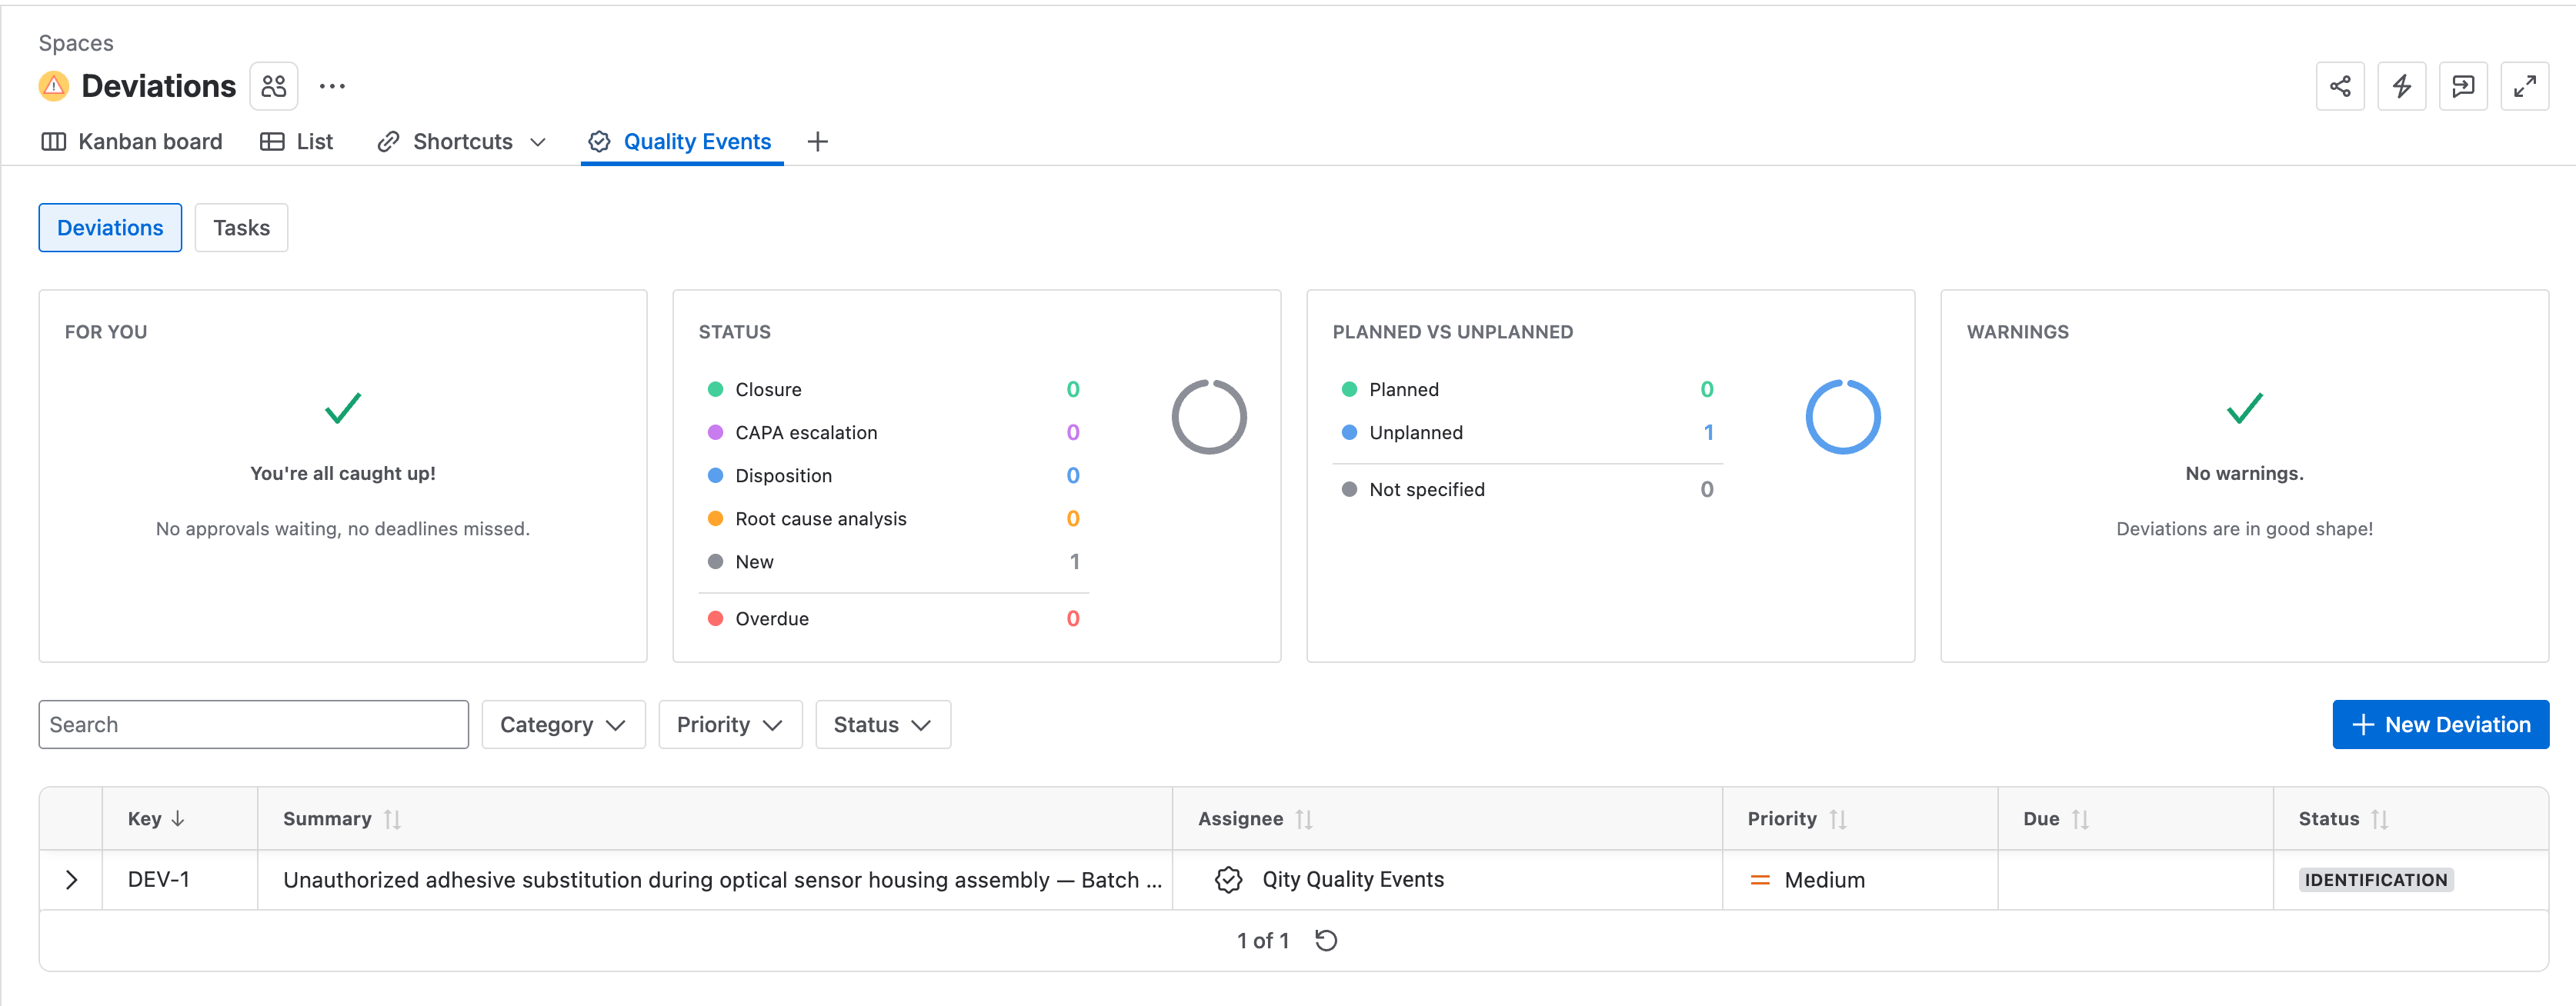
The Deviations space, on the Quality Events tab, with summary panels, filters, and the deviation table. - Select the Deviations (DEV) space and the Deviation work type, then enter a summary and a description covering what happened, when, where, who was involved, how many units are affected, and how it was discovered.The deviation is created in
Identification. You can transition back to it from any other status if you need to start over.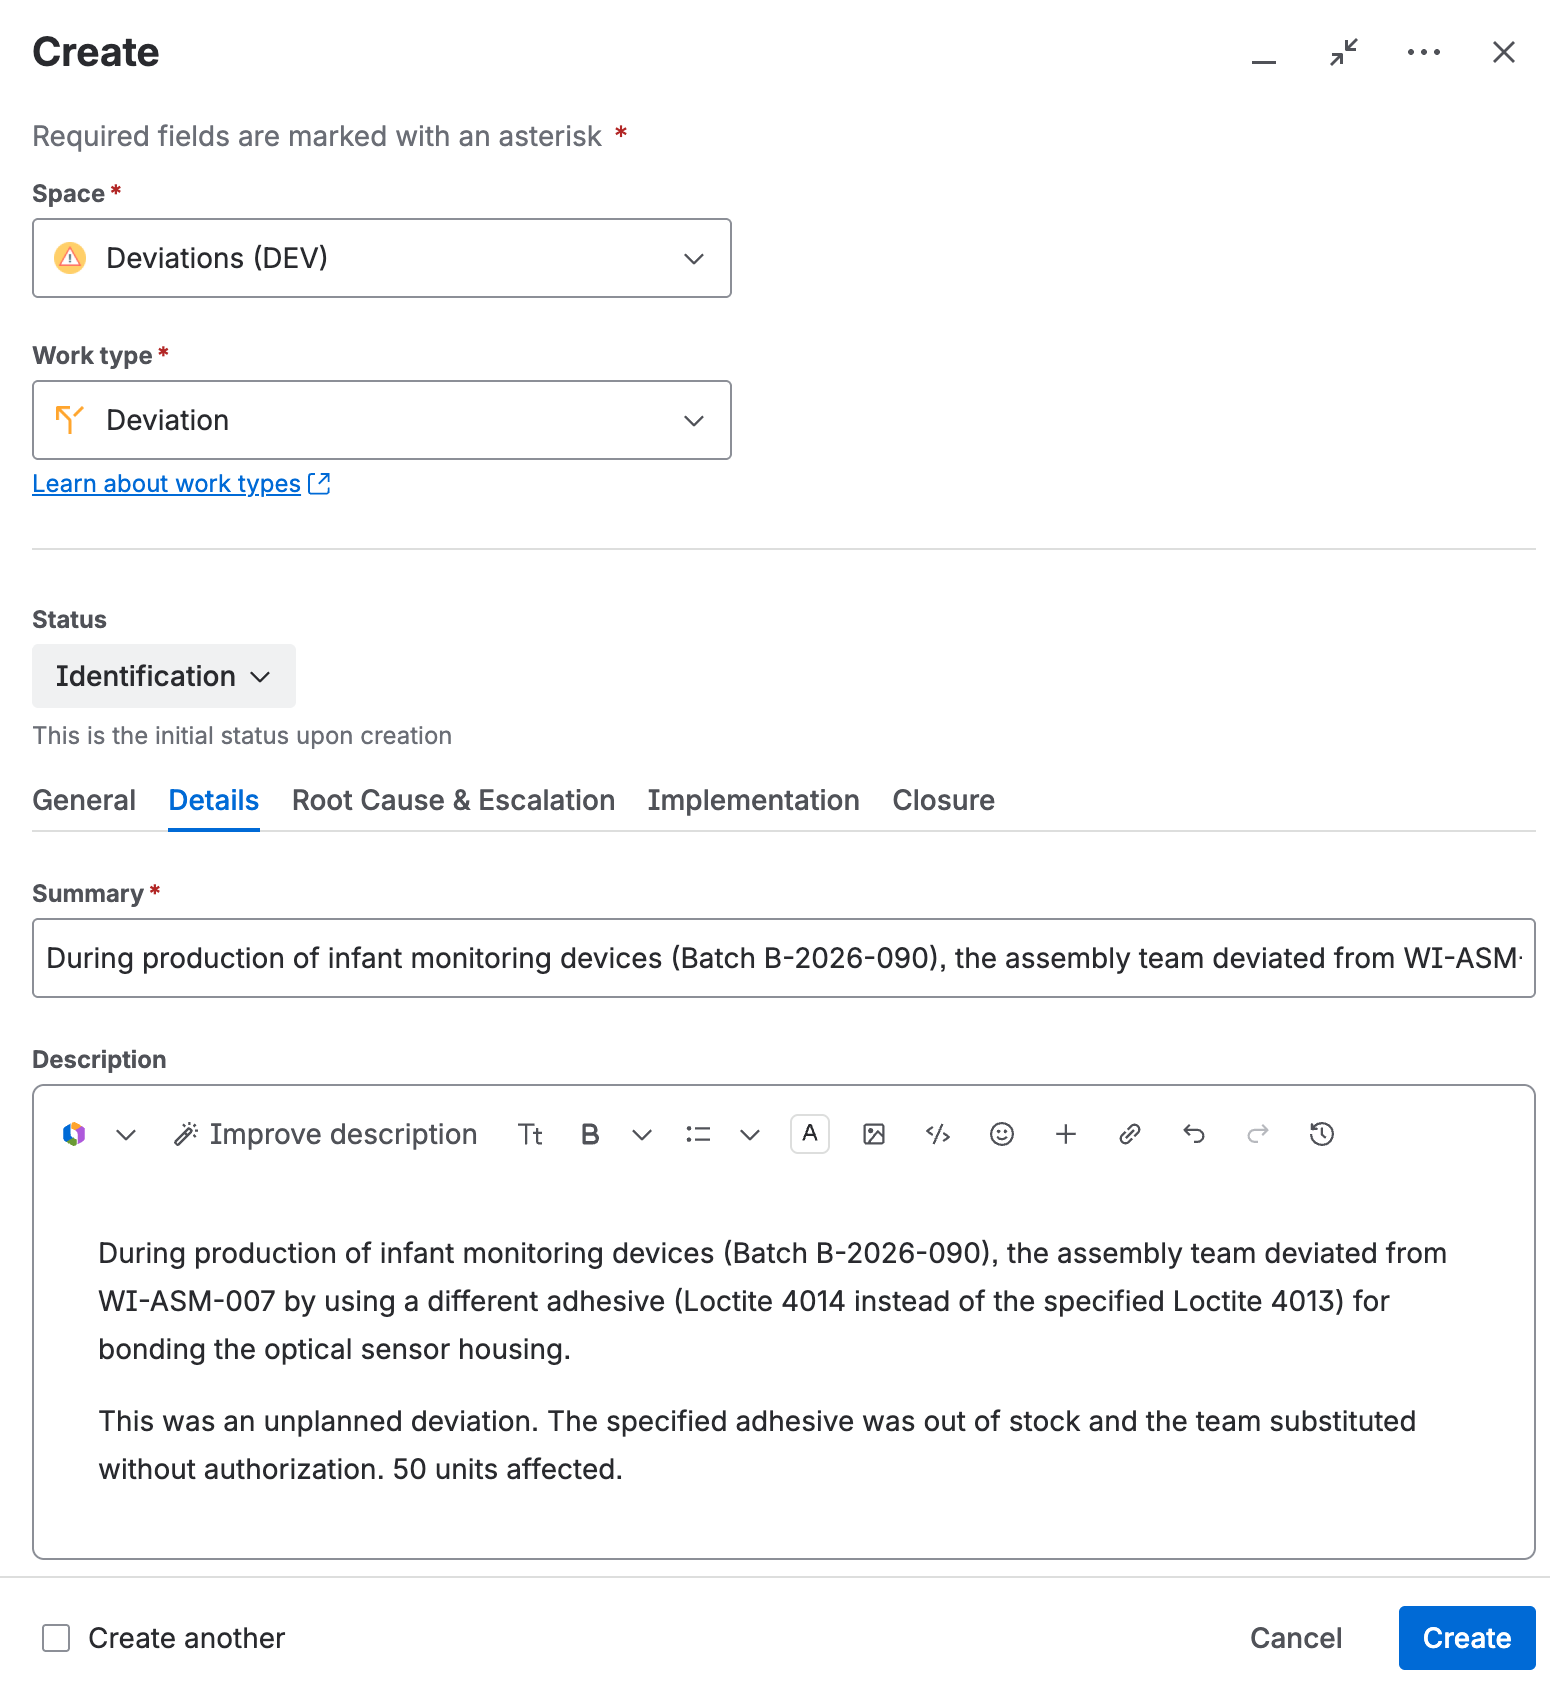
The create dialog, with the Deviations (DEV) space, the Deviation work type, the initial status Identification, and the summary and description fields. - Choose a category such as
Product,Process,Material,System,Regulatory,Documentation,Environmental, orSafety.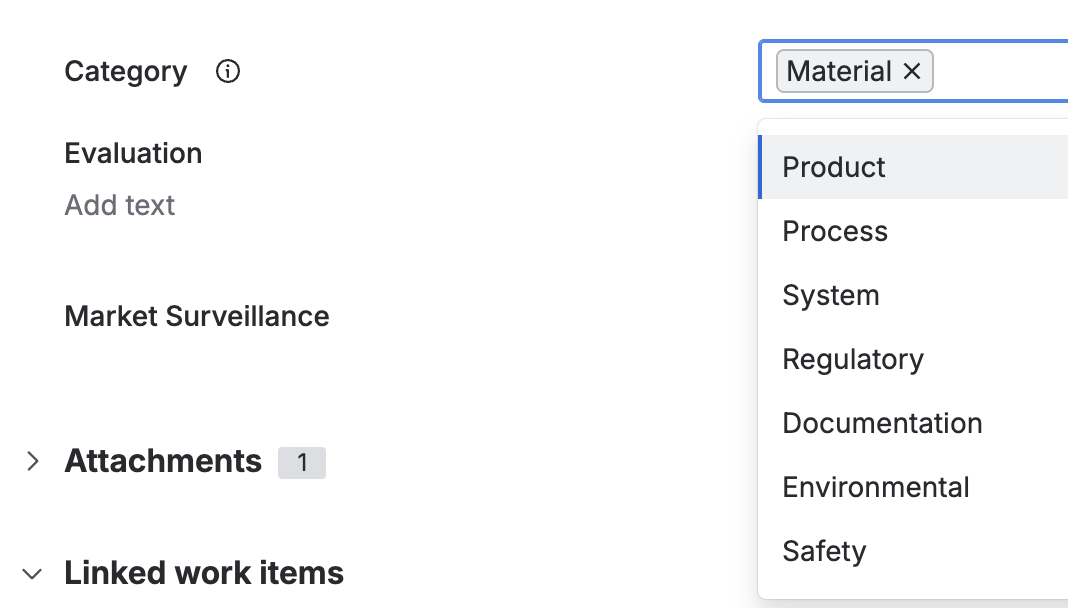
The category field, with Material selected and the remaining options listed below it. - Set market surveillance to
Pre-MarketorPost-Market, mark whether the deviation is planned, set the priority, and set a due date.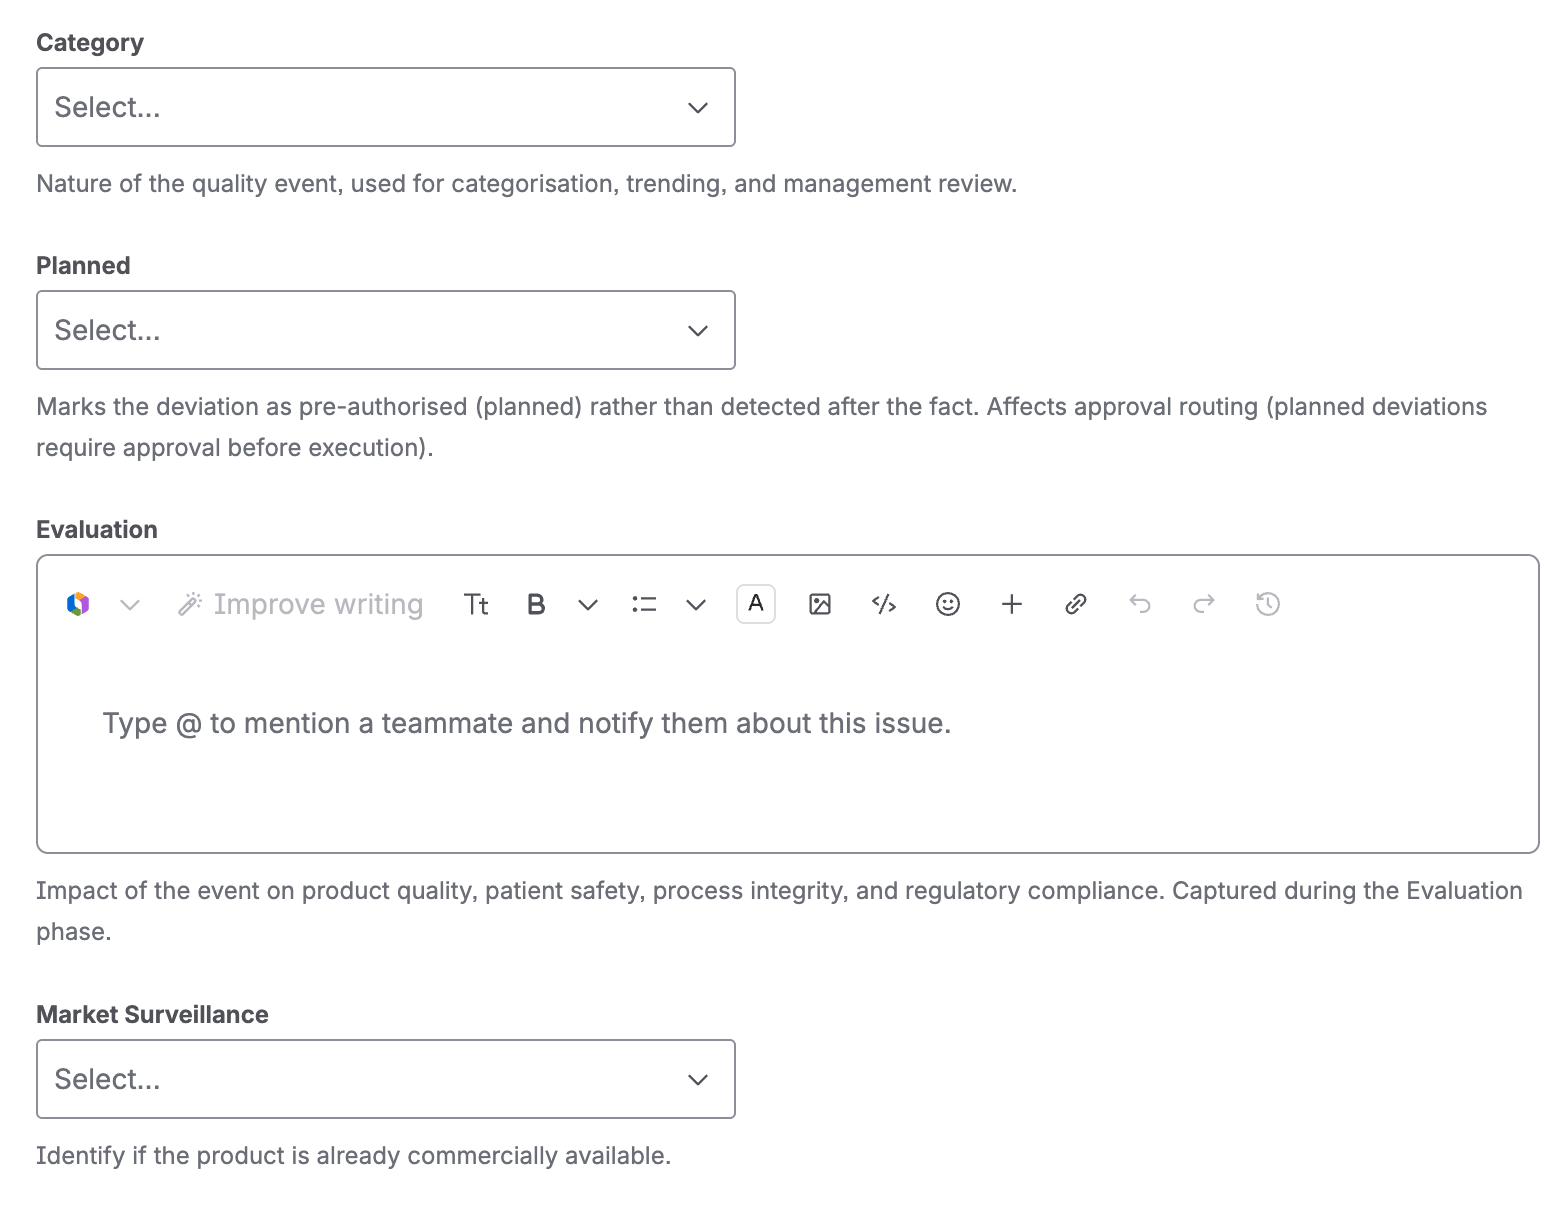
The category, planned, evaluation, and market surveillance fields, each with a short field description. - Link the trigger that surfaced the deviation, whether that is an incoming inspection, a batch item, a serialized item, a customer complaint, an audit finding, an asset, or another quality event.
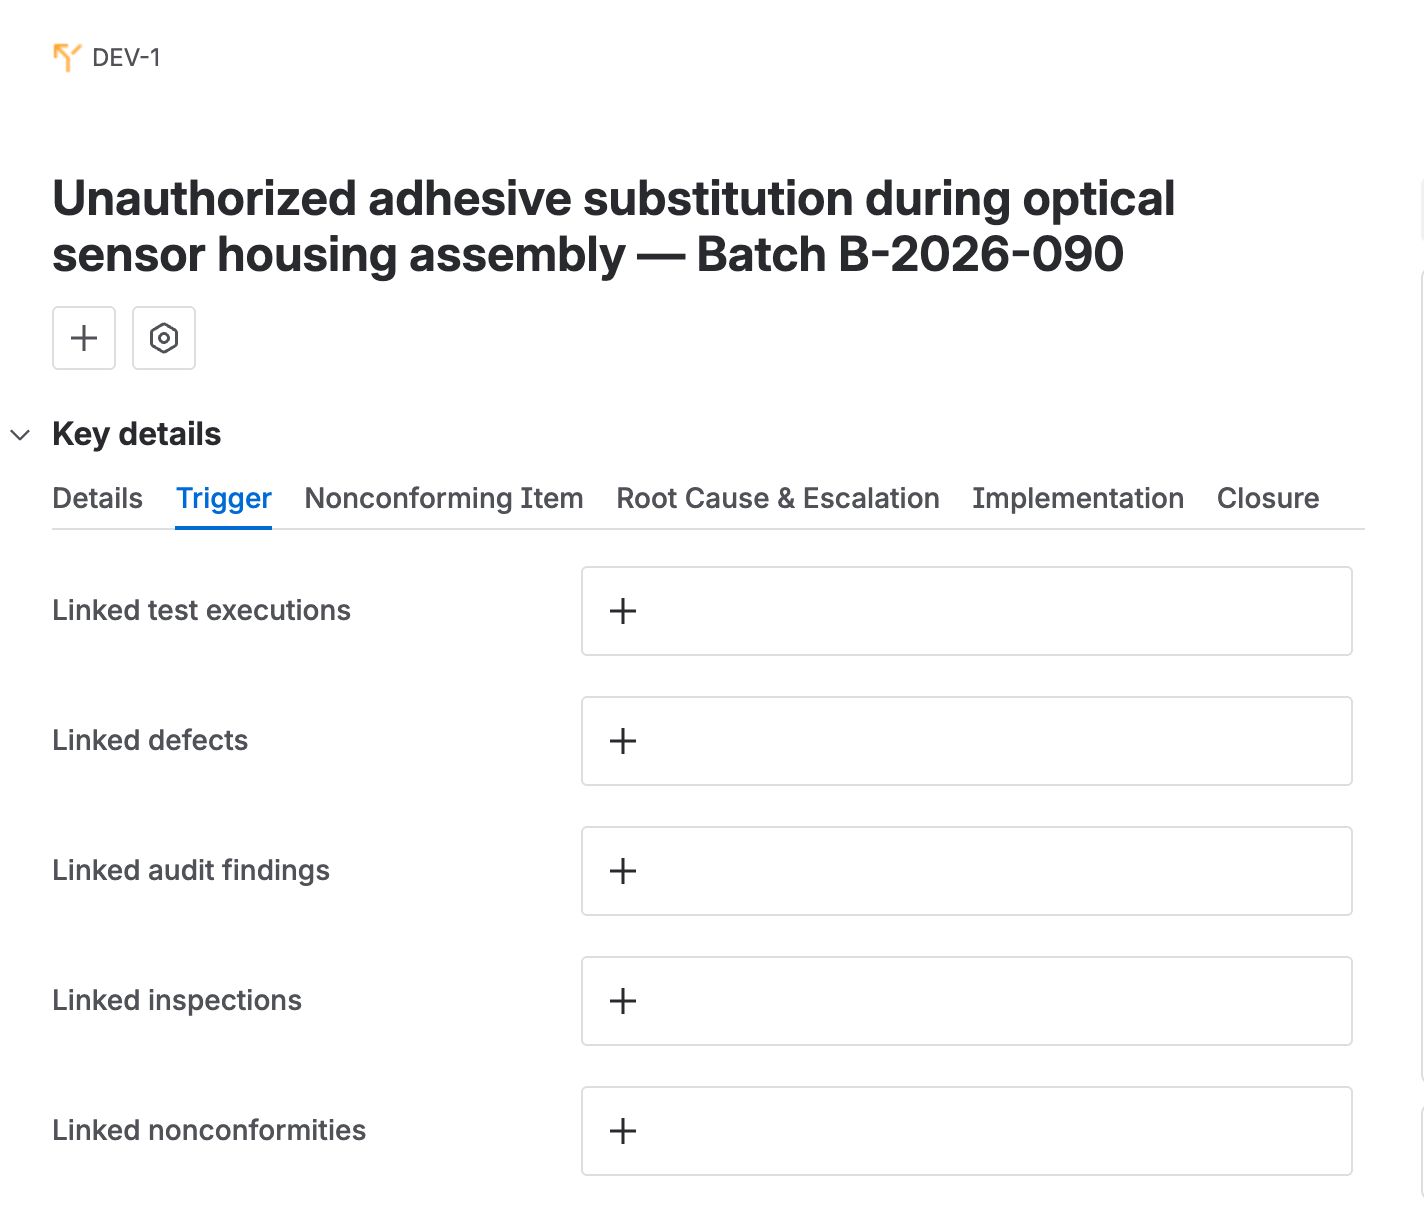
The trigger tab, with link fields for test executions, defects, audit findings, inspections, and nonconformities. - Link the affected items involved, whether that is a product, device, assembly, part, batch item, serialized item, software system, or software item.
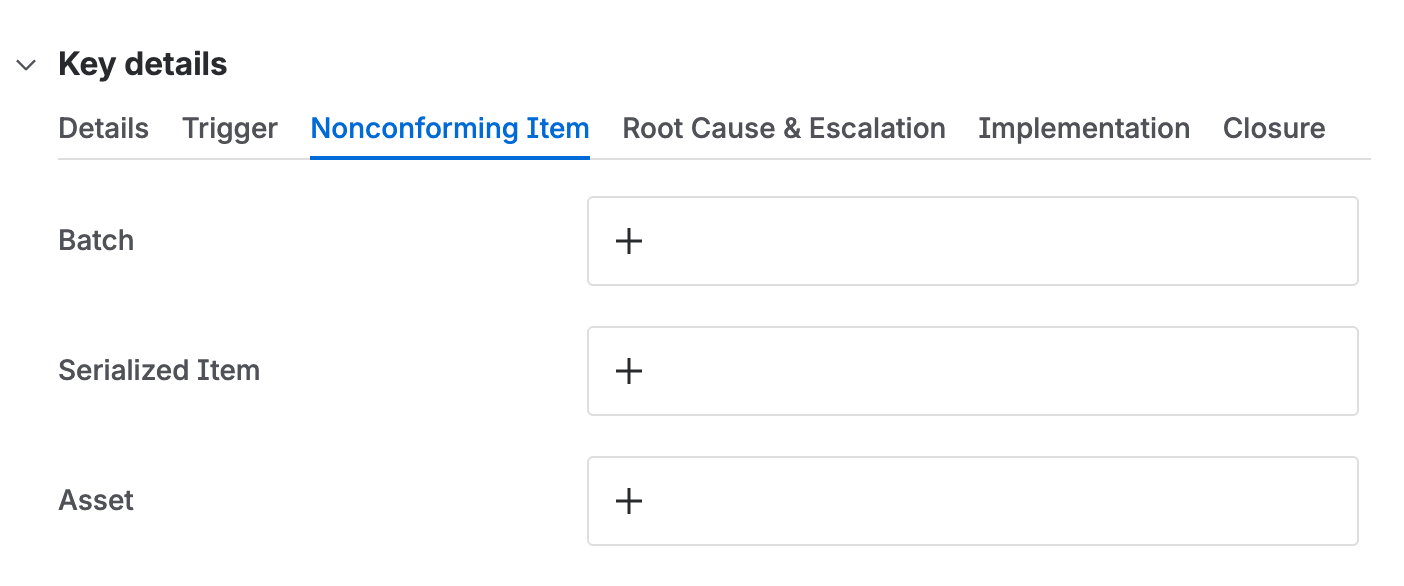
The nonconforming item tab, with link fields for a batch, a serialized item, and an asset. - Assign the deviation to the person responsible for it.
- Once the deviation is sufficiently documented, click Evaluate to move it from
IdentificationtoEvaluation.The description field is required for this transition.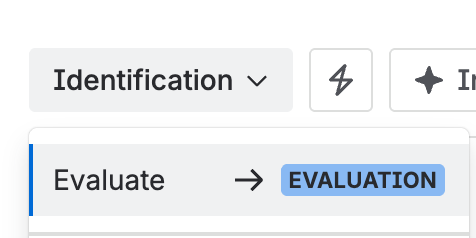
The status menu, moving the deviation from Identification to Evaluation.
Evaluate the deviation
- Open the deviation and fill in the evaluation with the impact on product quality, patient safety, process integrity, and regulatory compliance, plus the scope (how many units, and whether they have left the facility) and the severity.
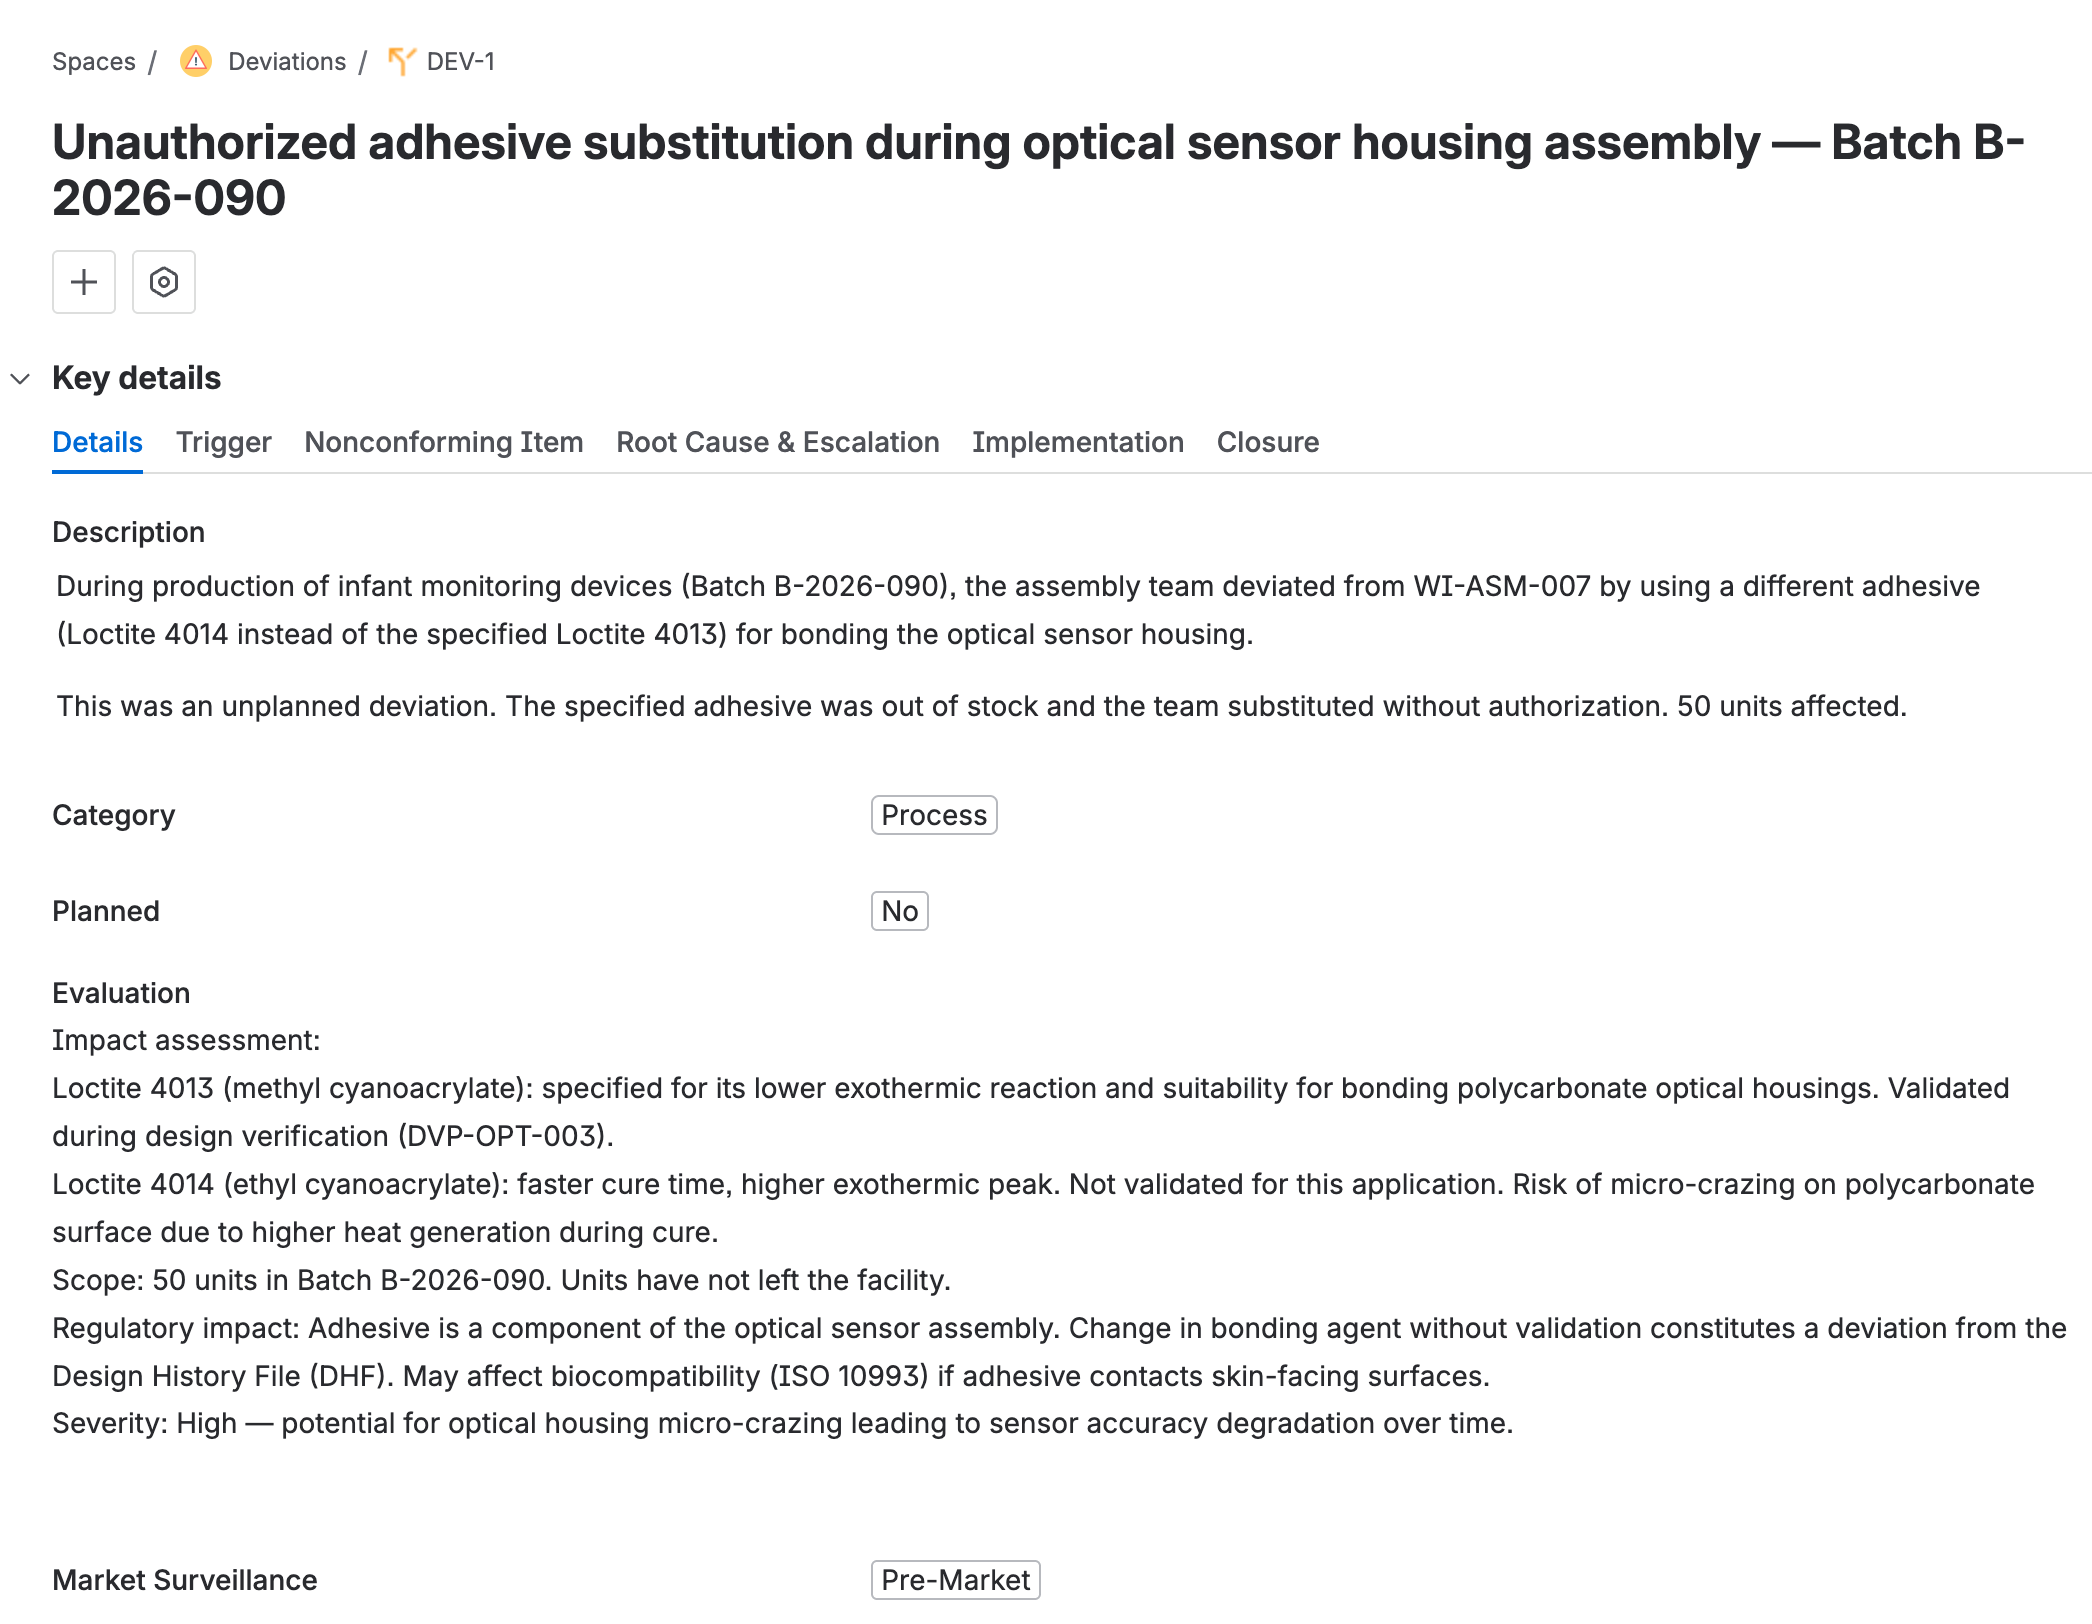
The deviation’s details tab, with the description, category, planned flag, evaluation, and market surveillance fields filled in. - Click Immediate action to move the deviation from
EvaluationtoImmediate corrective action.The evaluation, category, and priority fields must all be filled in before you can make this move.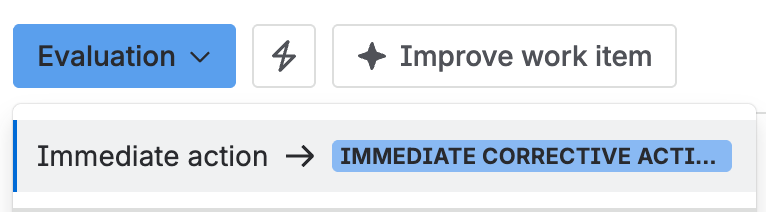
The status menu, moving the deviation from Evaluation to Immediate corrective action.
Take immediate corrective action
Immediate corrective action contains or fixes the deviation, to stop further use, release, or impact. It is not automatically a CAPA: it addresses only this specific case, with no root cause analysis, systemic correction, prevention, or effectiveness check.
- Document the containment or correction in the immediate corrective action field. This might mean alerting the quality team, moving affected items to temporary stock, or another action that stops the deviation from causing further harm.
- Click Root cause to go to
Root cause analysis, or Skip to disposition to go straight toDisposition, if a root cause analysis is not needed.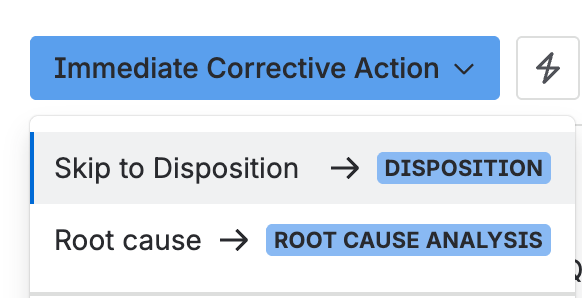
The status menu, with Skip to disposition and Root cause as the two ways out of Immediate corrective action.
Analyze the root cause
Root cause analysis summary is required for every transition out of Root cause analysis. Use it to justify why the deviation was, or was not, escalated to a CAPA.
- Open the deviation and go to the Root cause & escalation tab.
- Document the investigation method (5-Why, Ishikawa, or another), the findings, and the root cause in the root cause analysis summary field.You can do the analysis in a controlled document instead. If you do, link it in affected documents and still put the conclusion in root cause analysis summary, because that field is what the transition checks. See Create a document or template if you need to start one.
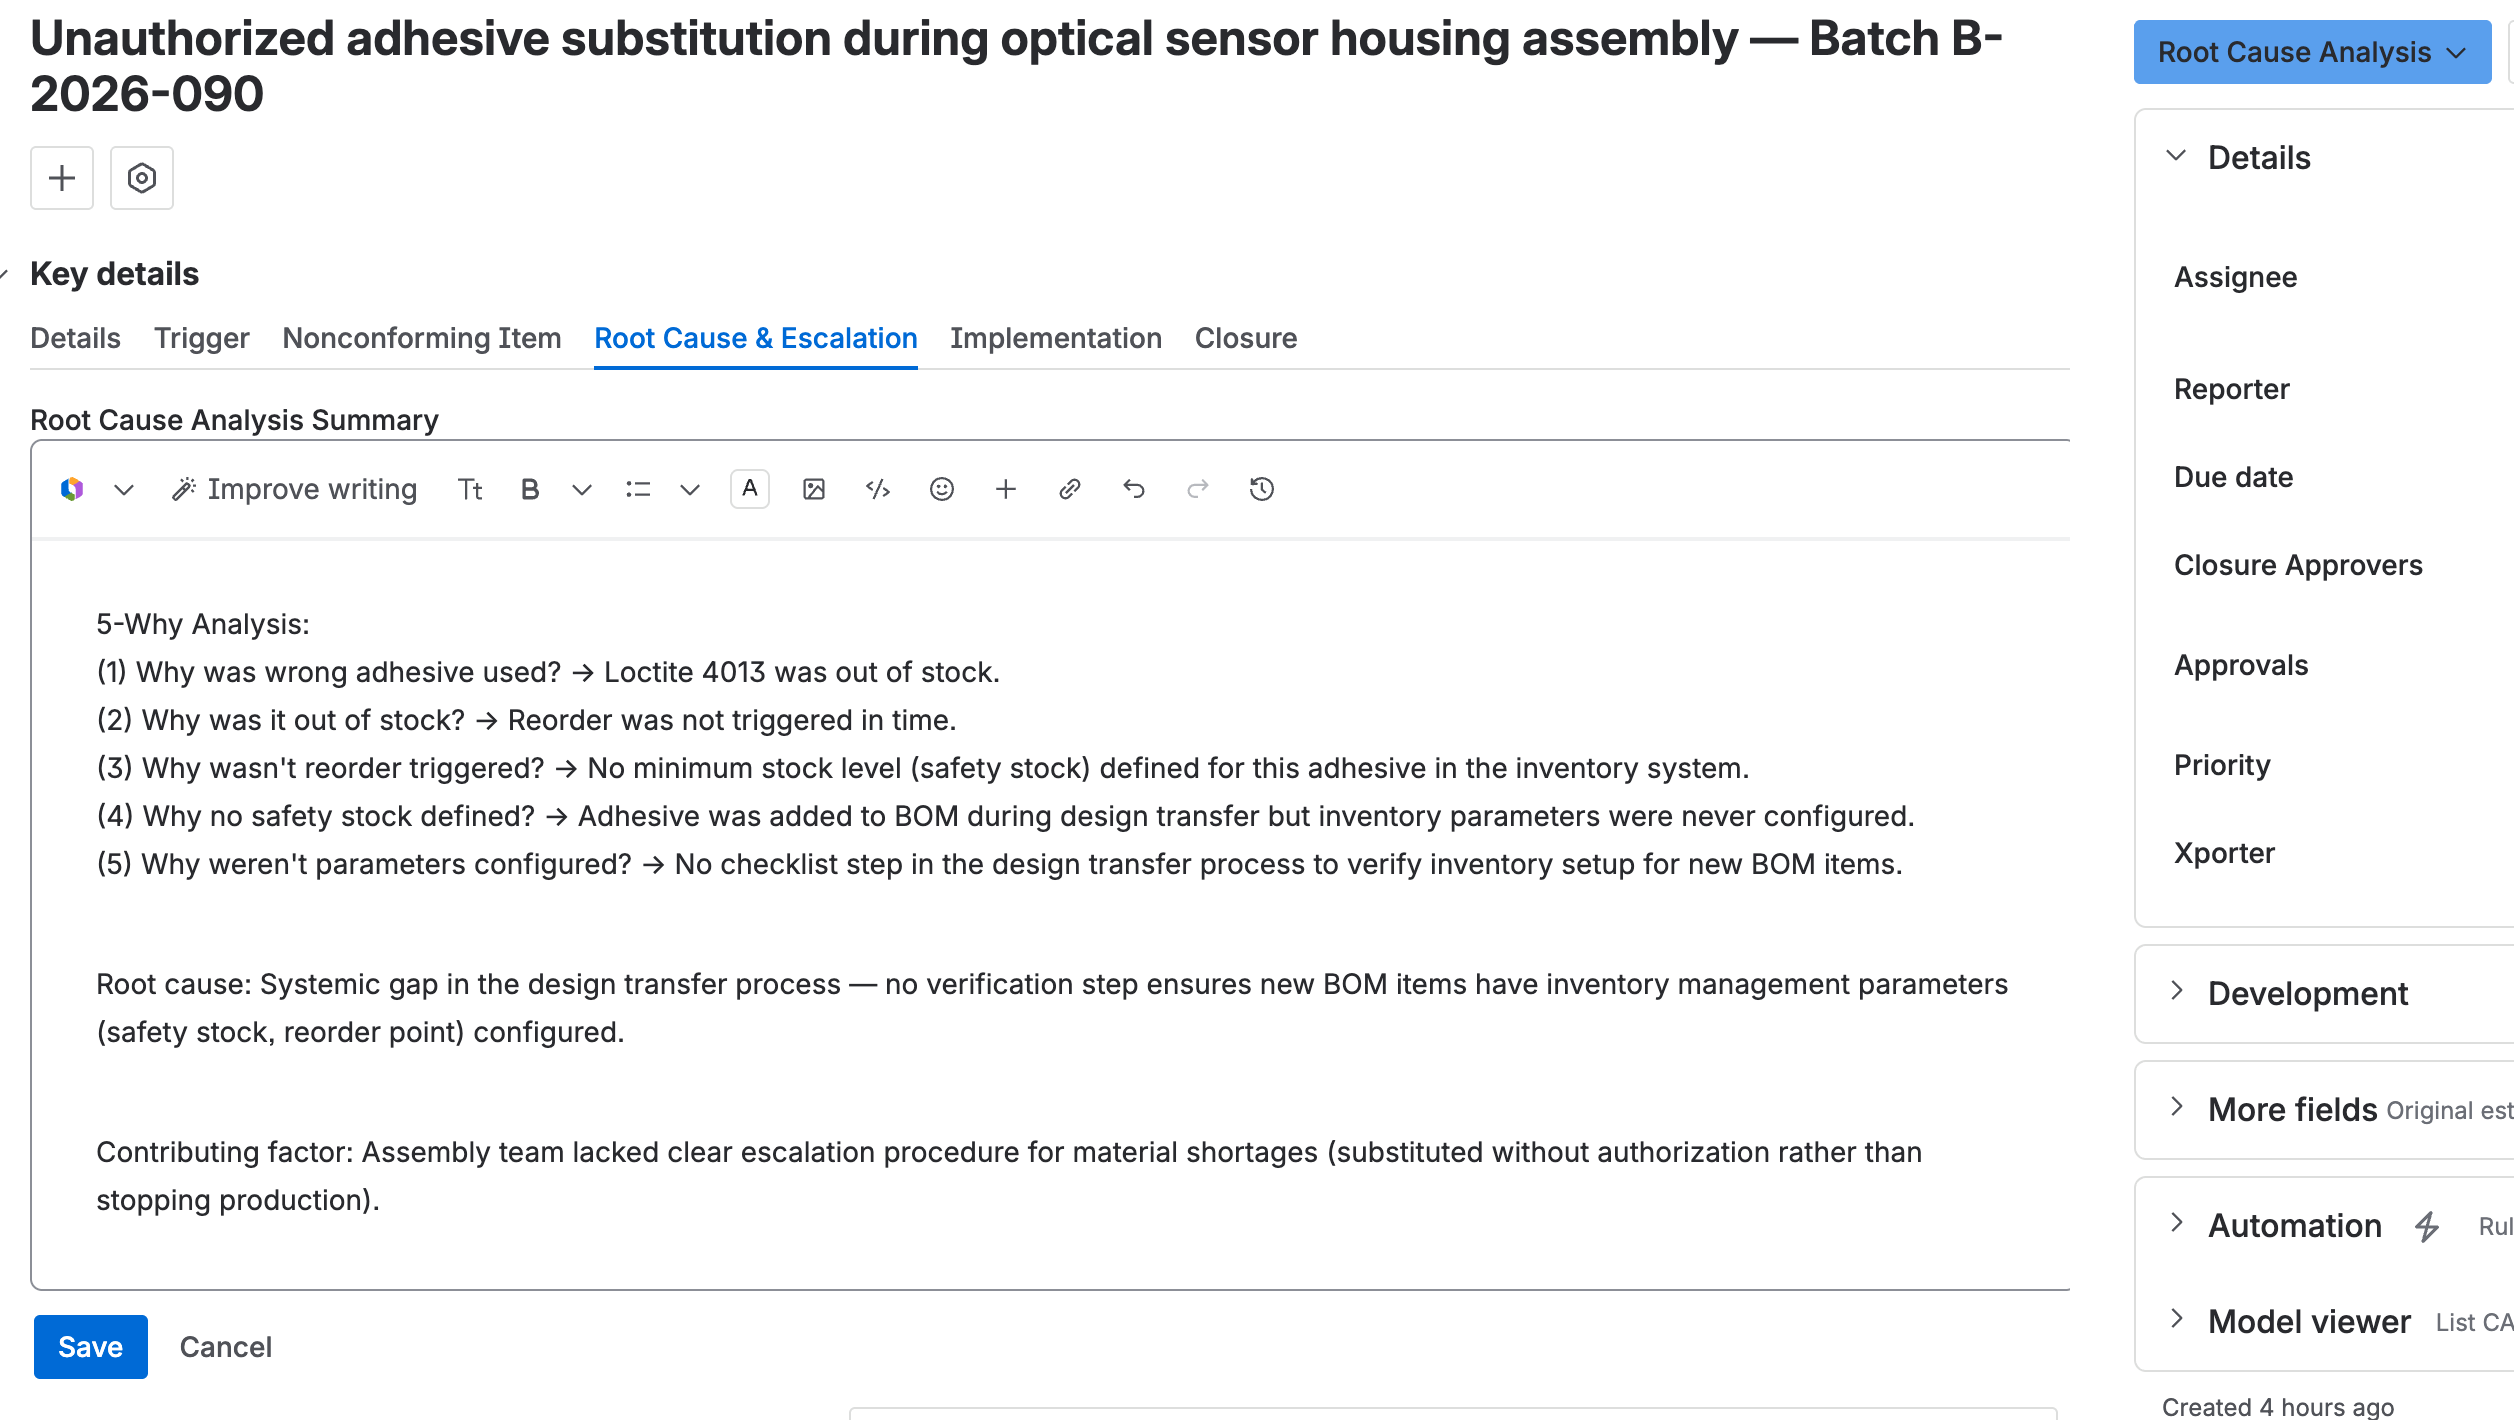
The root cause & escalation tab, with a 5-Why analysis filled in under root cause analysis summary. - Click Escalate to move to
CAPA escalation, or Do not escalate to go straight toDisposition.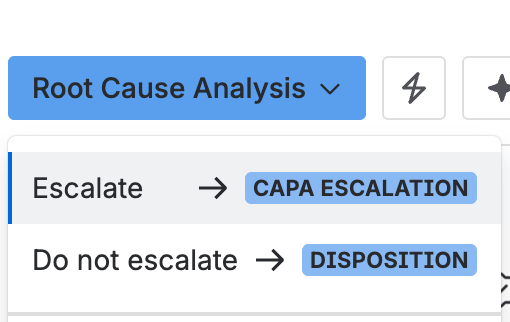
The status menu, with Escalate and Do not escalate as the two ways out of Root cause analysis.
Escalate to a CAPA
Skip this section entirely if you clicked Do not escalate in the previous step. The deviation goes straight to disposition.
- Use the escalated to CAPA field to create a new CAPA or link an existing one.The CAPA runs its own lifecycle from here, independent of the deviation. The deviation carries on with its own, through disposition, closure, and closed. See Manage a CAPA for that procedure.

The escalated to CAPA field, with a search box and a button to create a new one. - Click Proceed to disposition.
Decide the disposition
Disposition tasks have their own lifecycle, and every one of them must be completed before the deviation can be closed.
- Open the deviation. If disposition work needs tracking, create one or more tasks from it. Tasks are covered later in this guide.
- If a concession is needed, use the resulting concessions field to create one or link an existing one. See Manage a concession for that procedure.

The resulting concessions field, with a search box and a button to create a new one. - Enter the justification, covering the assessment of the impact, which disposition path you chose (rework, scrap, use-as-is, return, or another), why that path is acceptable, and the acceptance or rejection criteria applied.
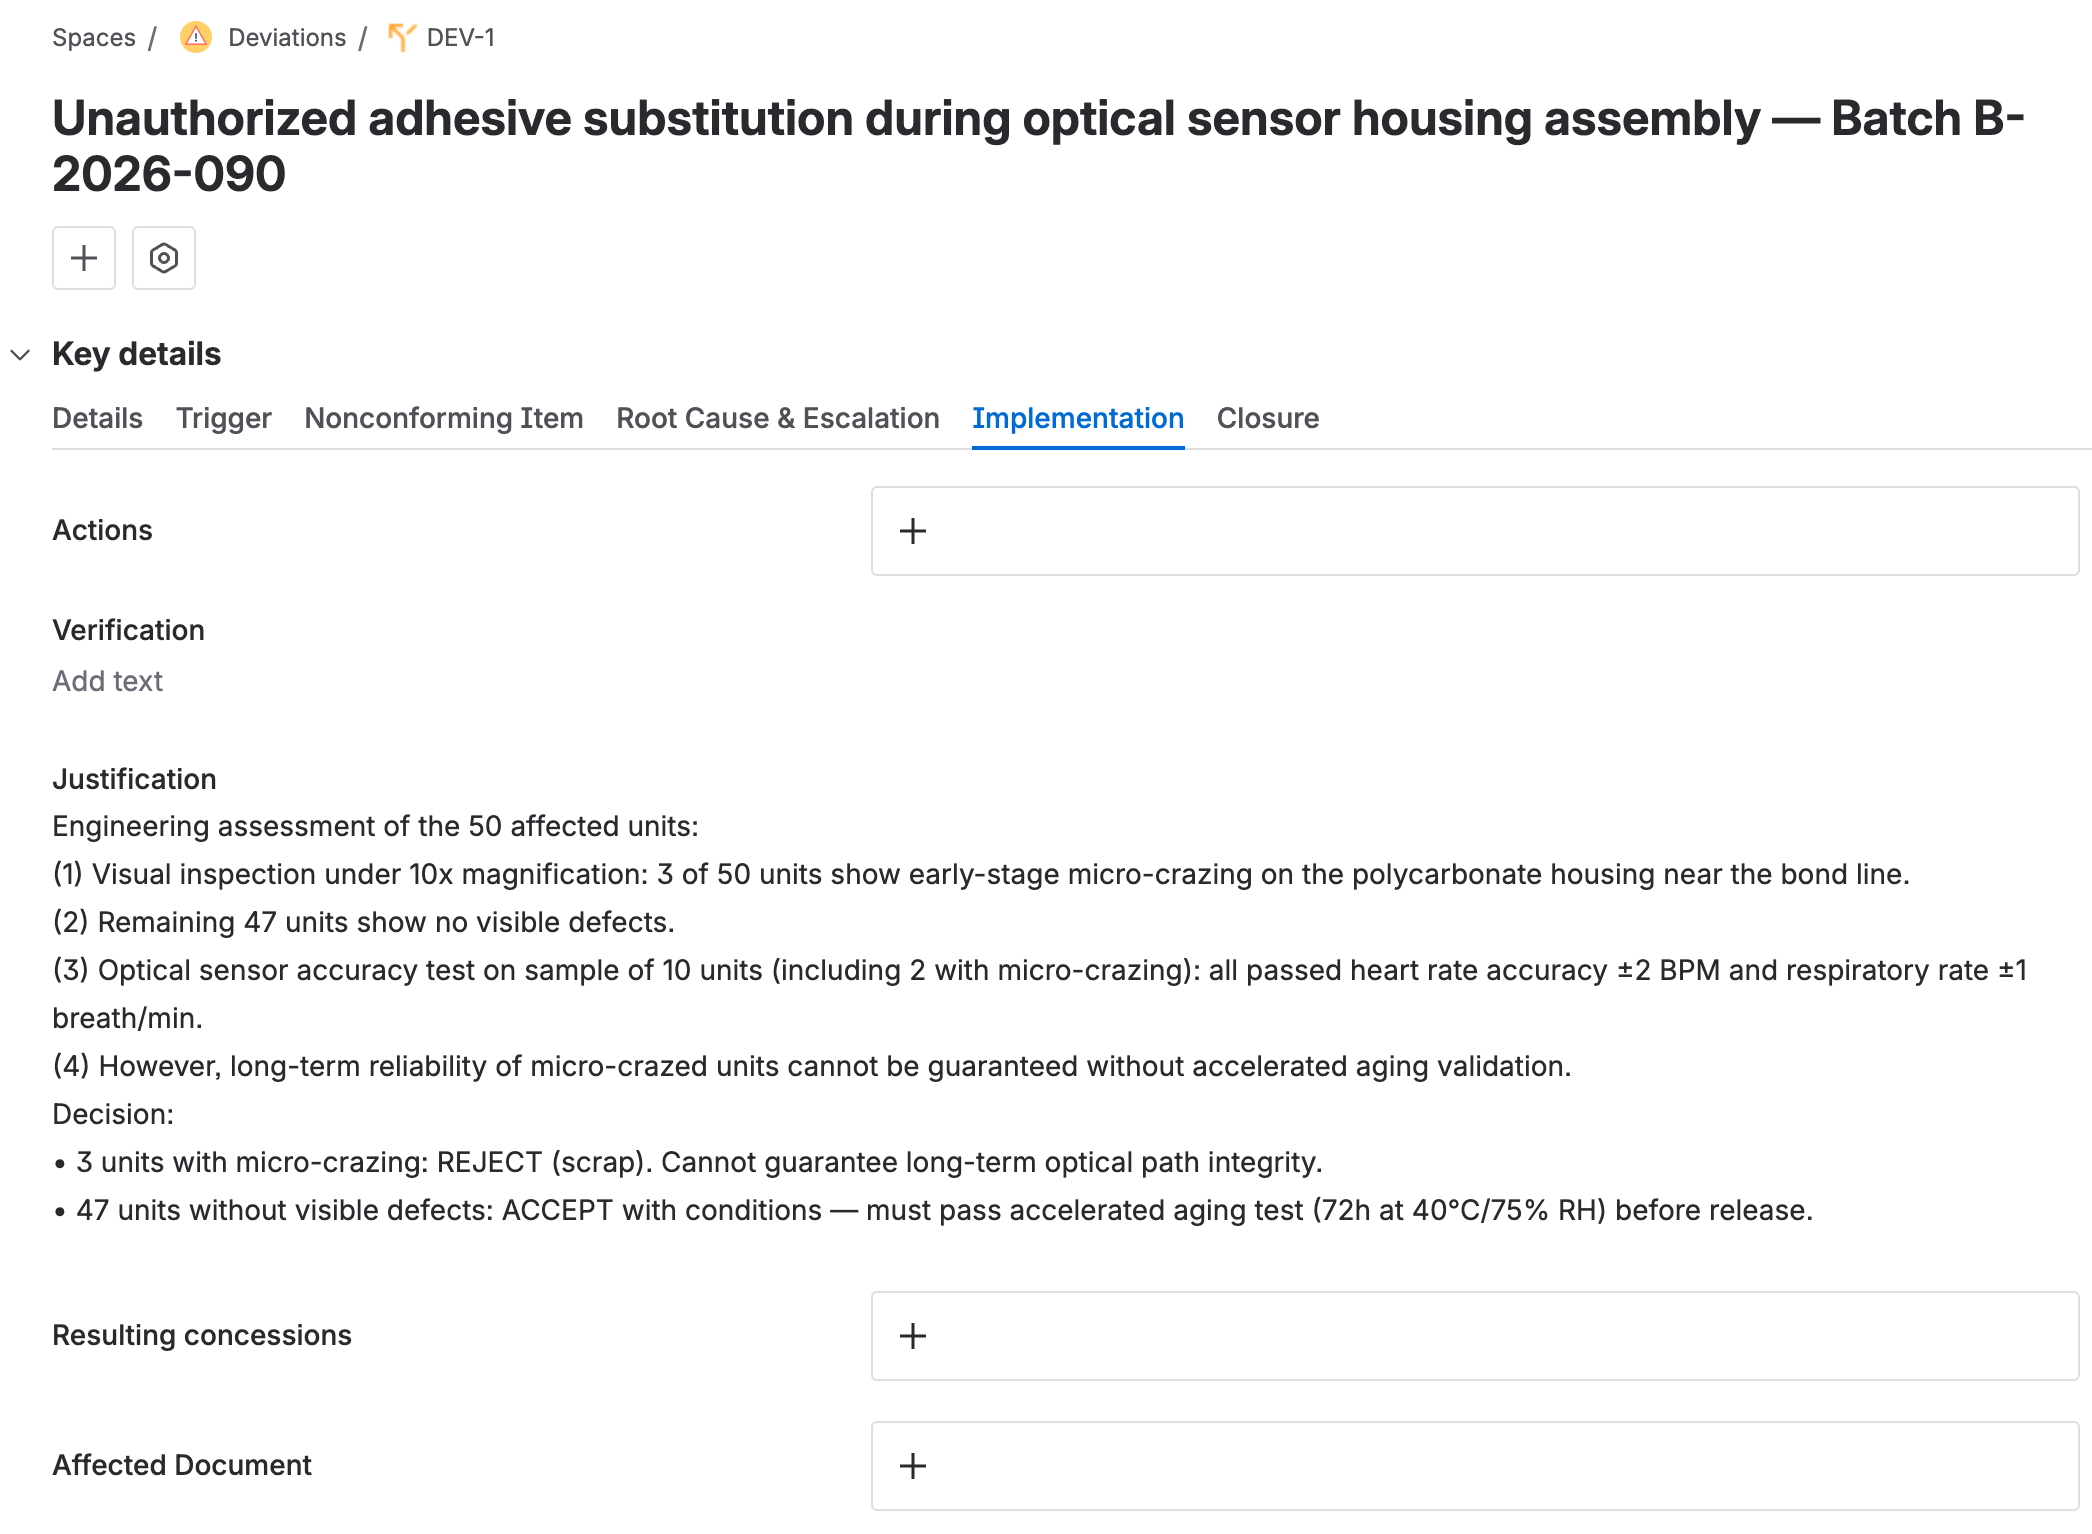
The implementation tab, with the disposition justification filled in. - Enter the verification, covering confirmation that the tasks and actions were carried out, the test or inspection results, evidence that the affected items were handled per the justification, and references to supporting records.
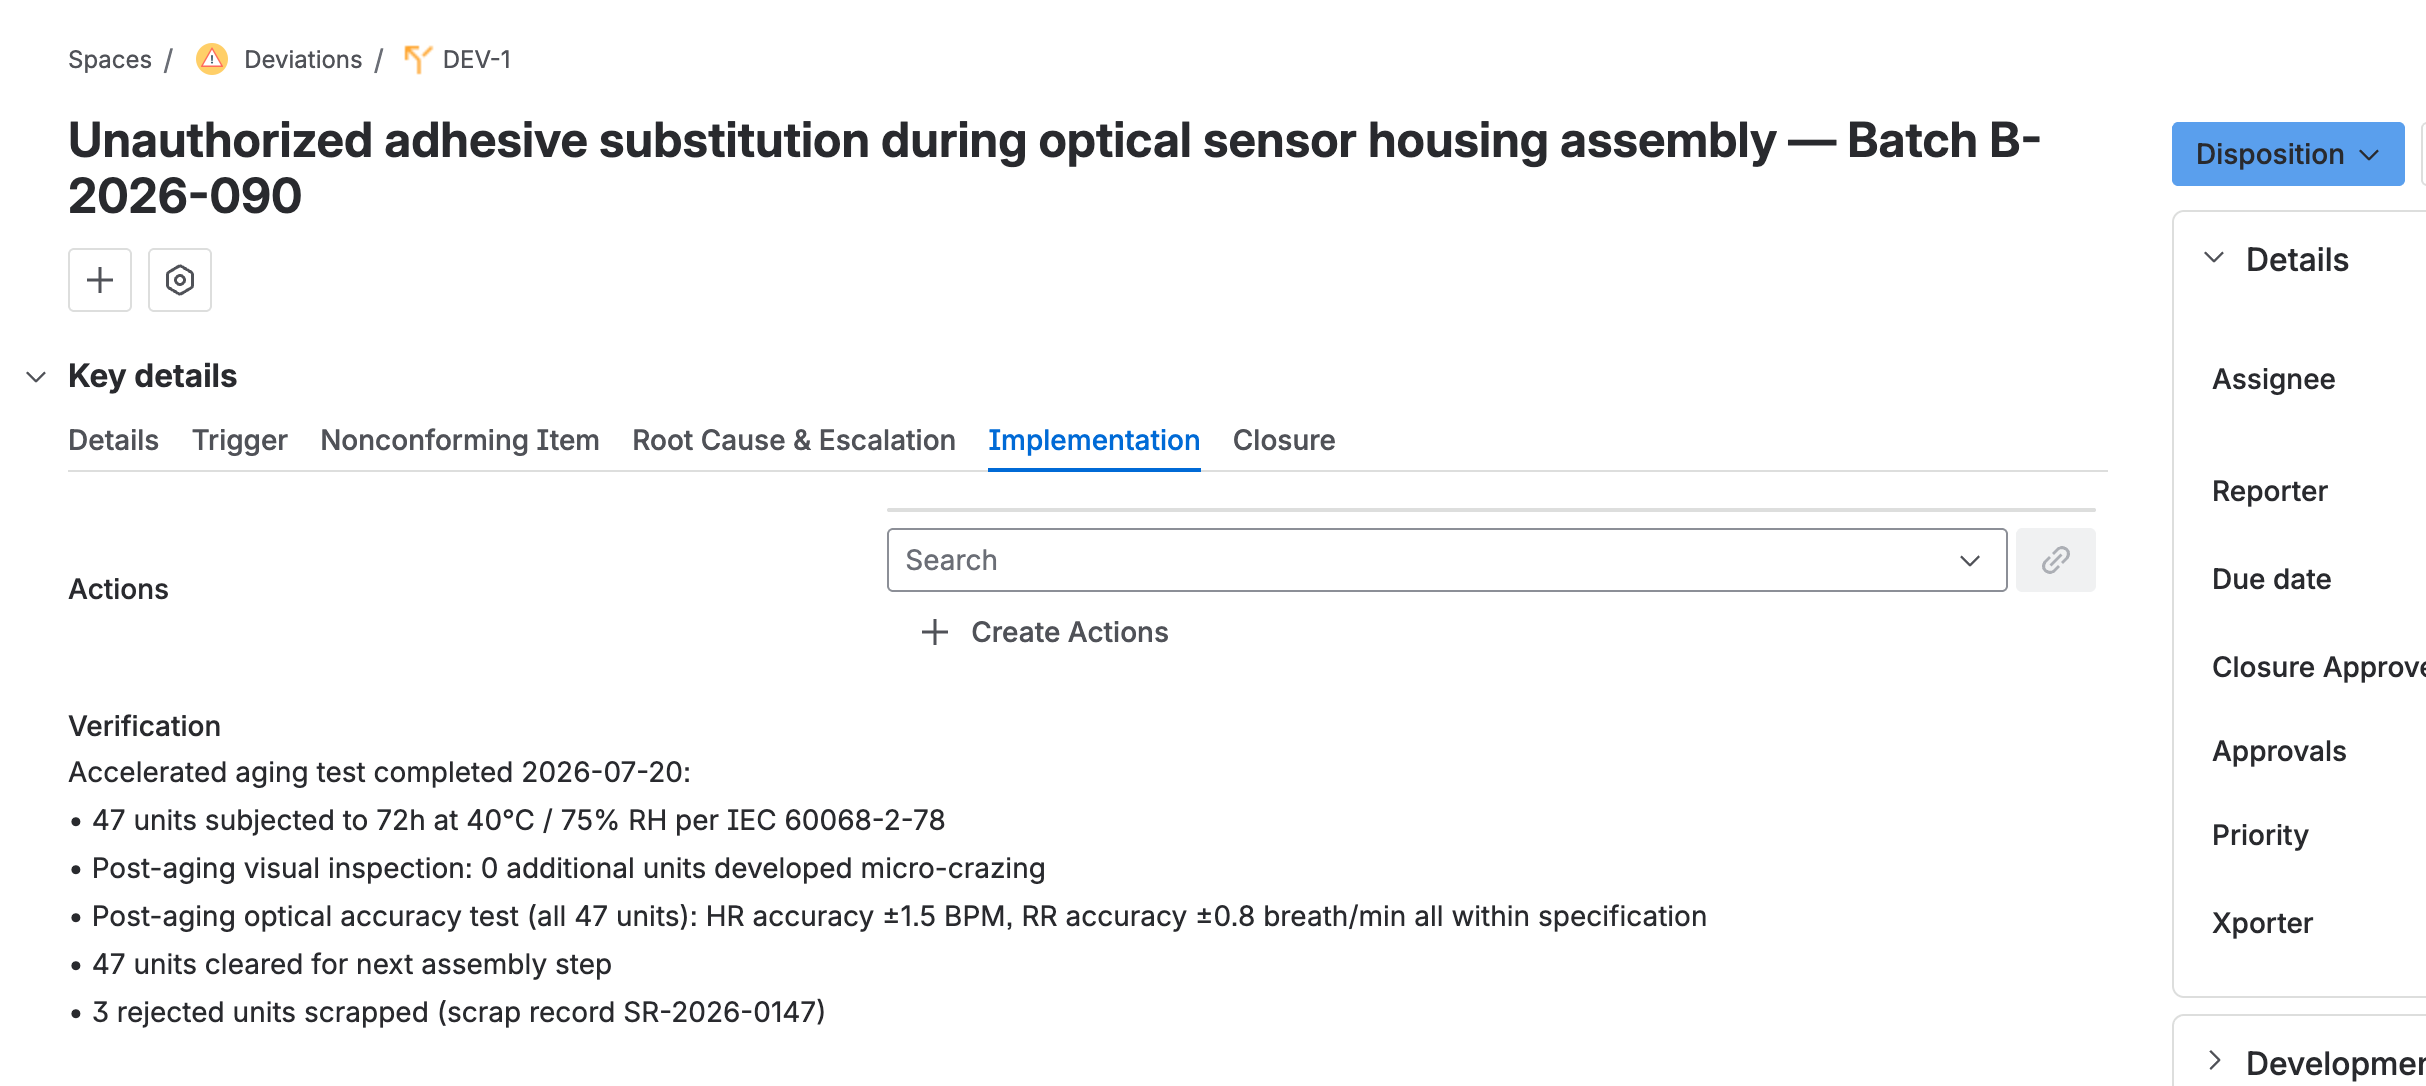
The implementation tab, with the verification of the disposition work filled in. - Set the closure approvers, then click Close to move the deviation from
DispositiontoClosure.Justification, verification, and closure approvers are all required for this transition.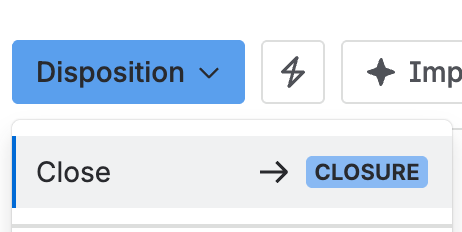
The status menu, moving the deviation from Disposition to Closure.
Close the deviation
- Open the deviation once it is in
Closure. - Fill in the effectiveness check, describing how the corrective actions taken have eliminated or controlled the deviation and prevented recurrence.
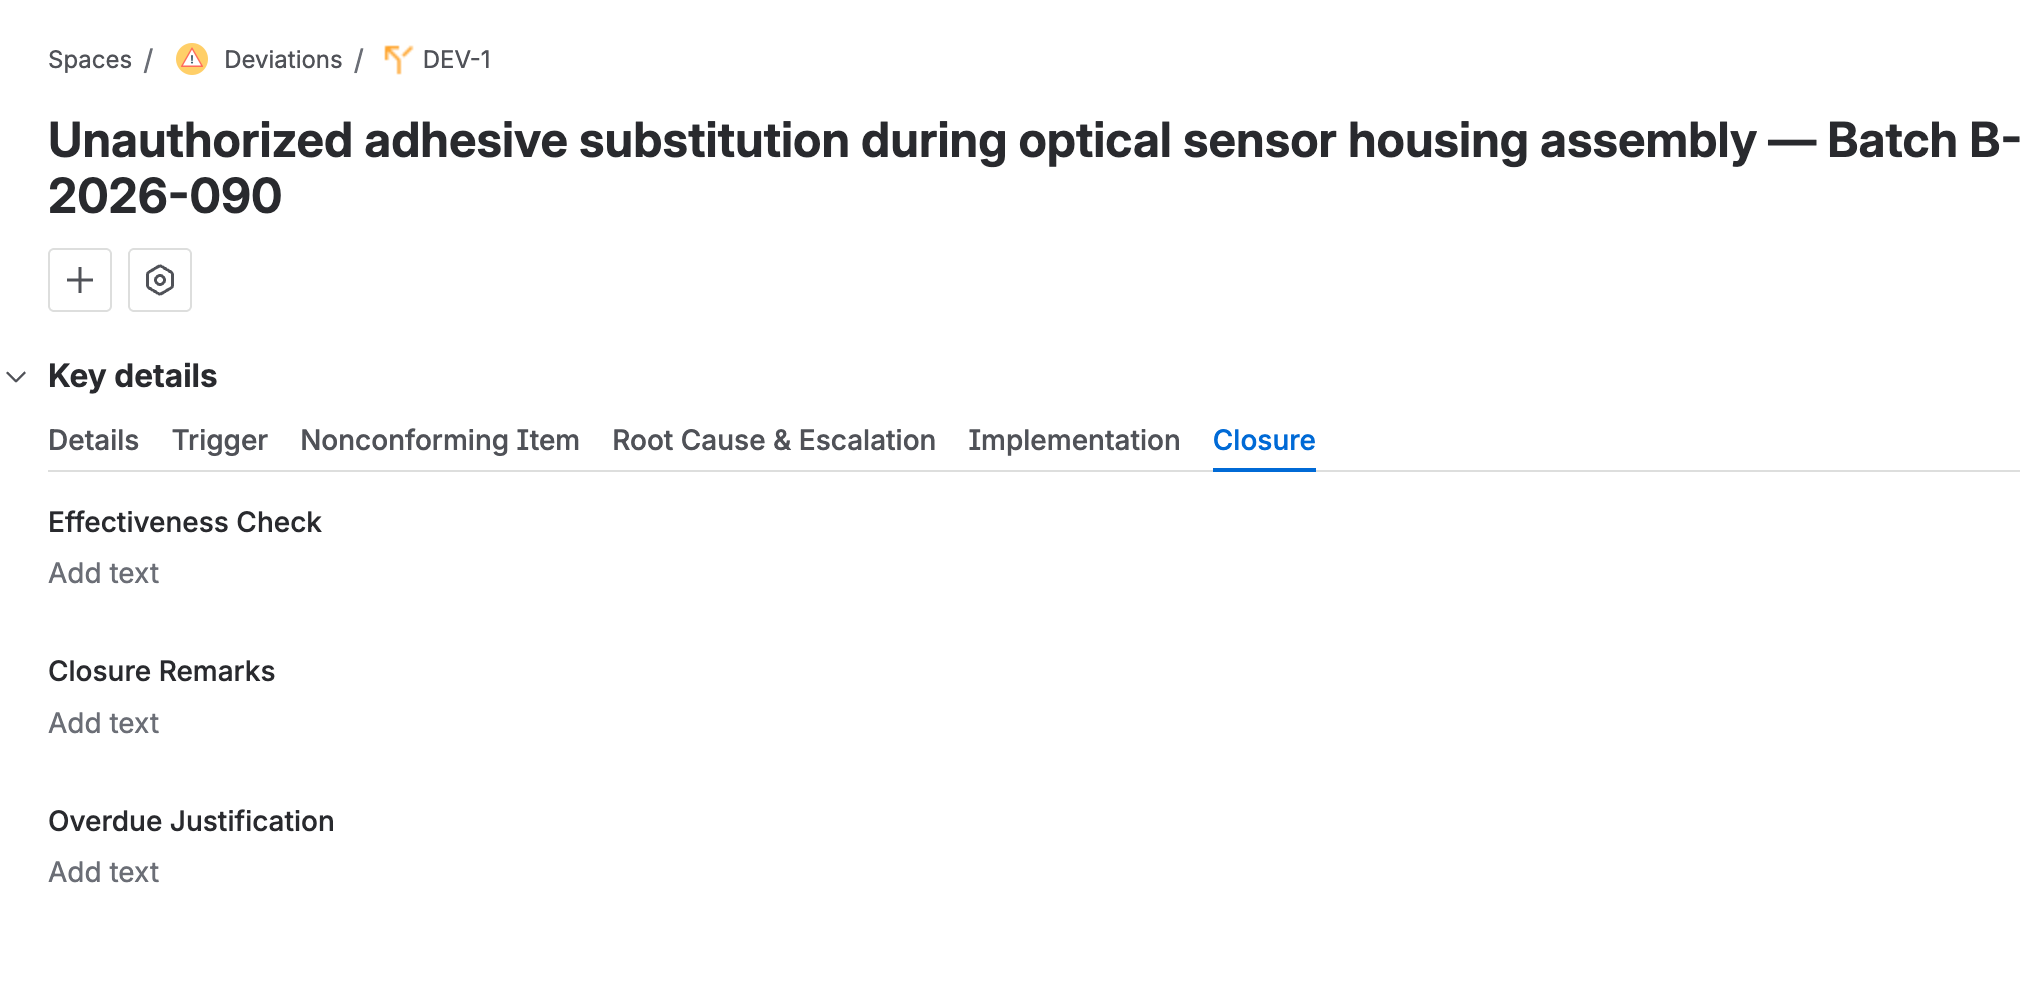
The closure tab on a deviation, with the effectiveness check, closure remarks, and overdue justification fields all still empty. - Fill in the closure remarks with a summary of the deviation, lessons learned, or any residual risk accepted.
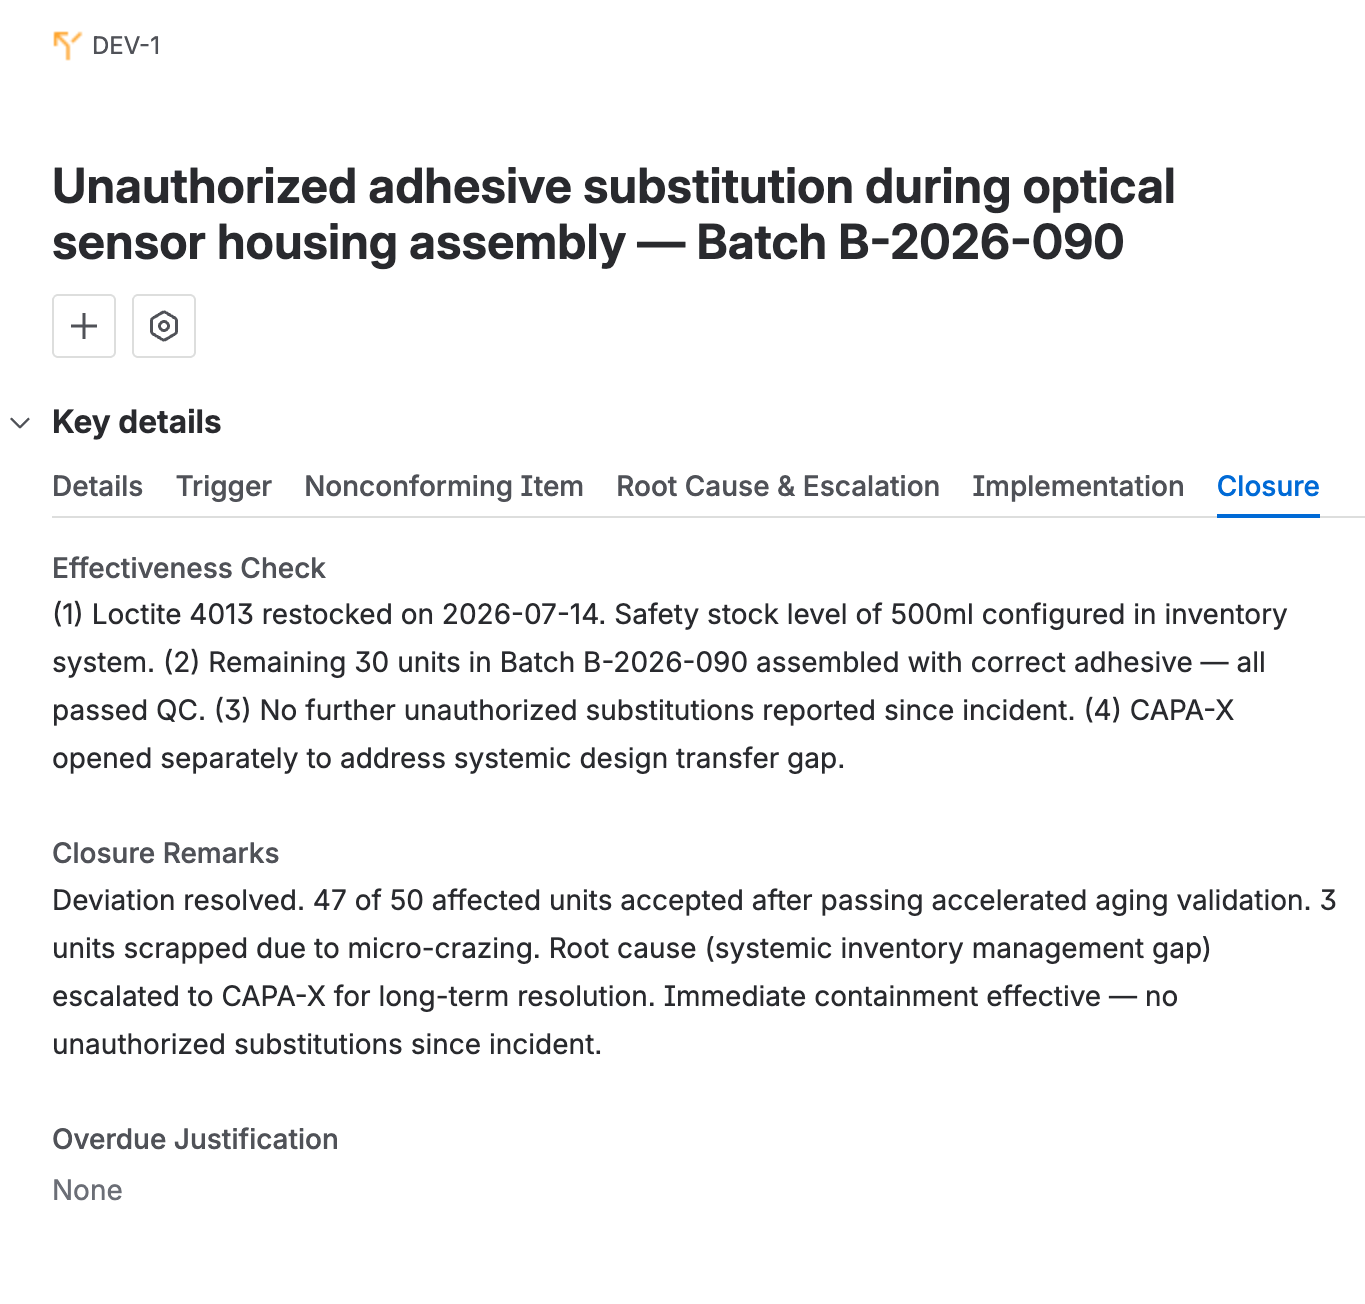
The closure tab, with the effectiveness check and closure remarks filled in. - Every closure approver gets an email. Each approves separately: click Reject or Approve, add a comment if needed, then enter the one-time password sent by email.The one-time password is what records the signature, not the button click.
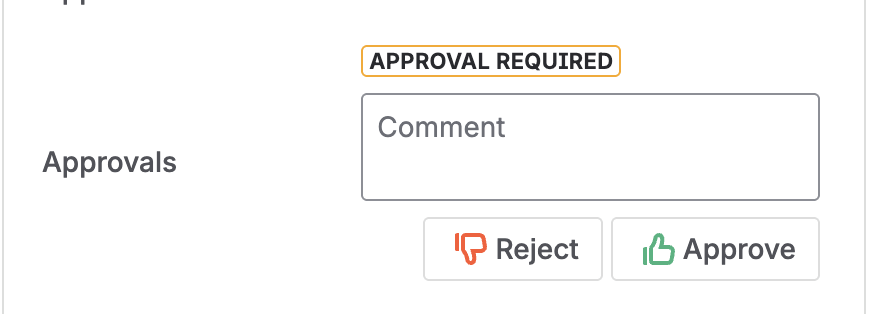
The approvals field, with an approval required label, a comment box, and Reject and Approve buttons. 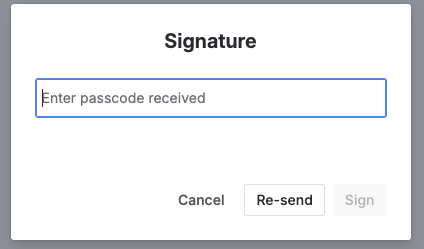
The signature dialog, prompting for the passcode received by email. - Once every approval is in, the deviation moves to
Closedon its own. - If any approver rejects, the deviation moves to
Closure rejecton its own. From there, it goes back toIdentificationto be revised and re-routed.A closure is typically rejected when QA finds the content thin, or when tasks are still open.
Closed is read-only. The deviation can no longer be edited. If it has to be reopened, the only route is back to Identification.
Resume an overdue closure
If the closure approval runs past the configured period, an automated Closure overdue transition moves the deviation from Closure to Closure overdue, and notifies whoever is configured to hear about it.
- Open the deviation once it has moved to
Closure overdue.The period, and who gets notified, are configured per space. See Set up Quality Events.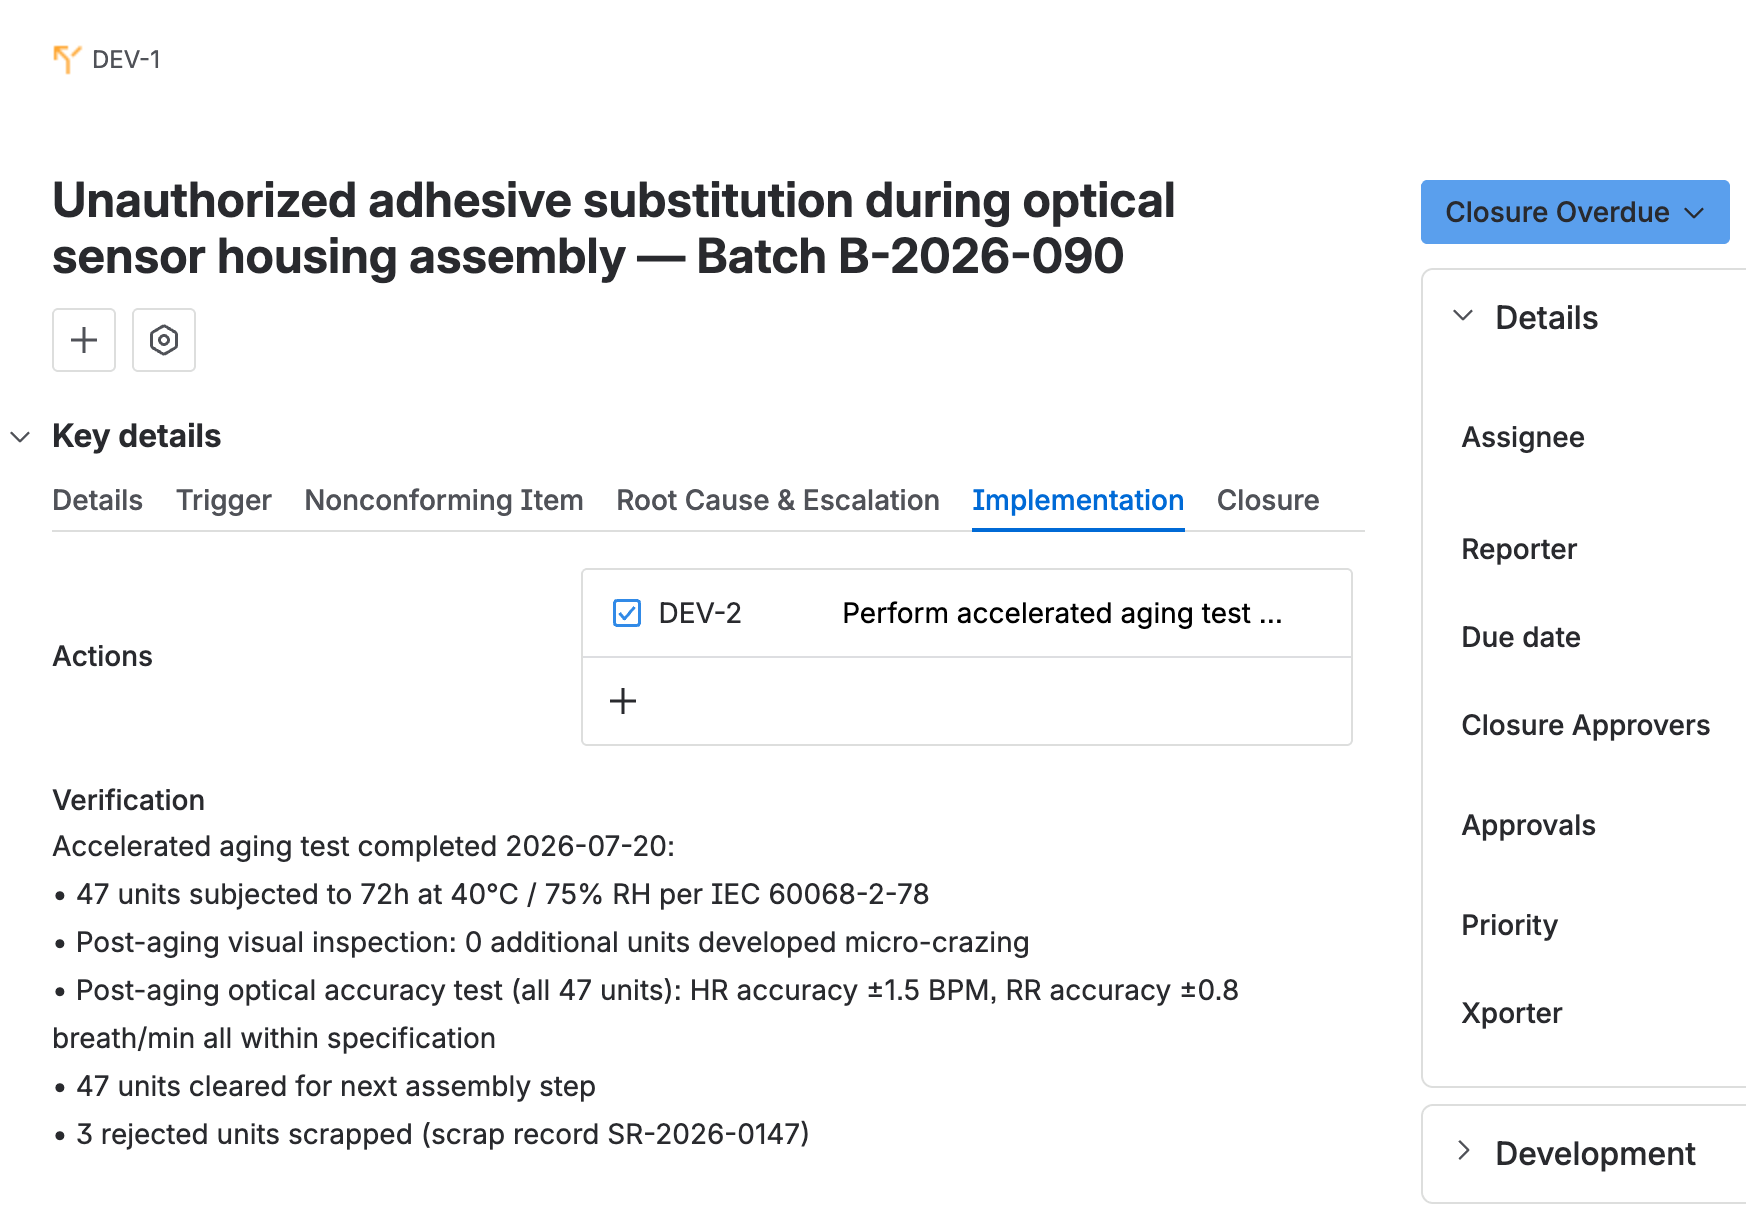
The deviation in Closure overdue status, on the implementation tab, with its linked task and verification. - Investigate why the approval was not completed in time (an approver was unavailable, more information was needed, or an action is still outstanding), then document it in the overdue justification field.
- Check the due date. It resets automatically, so change it if the new date does not fit.
- Click Justify & resume to return the deviation to
Closureand restart the approval cycle.Overdue justification is required for this transition.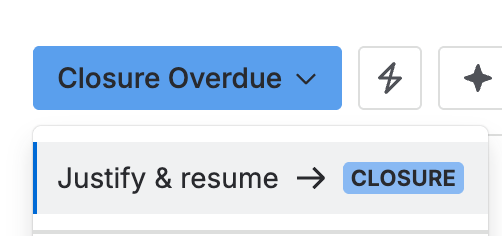
The status menu, with Justify & resume moving the deviation from Closure overdue back to Closure.
Cancel a deviation
- Open the deviation, in any status.
- Click Cancel.Only a user with the Quality Events Administrator role can do this. A canceled deviation cannot be edited, and the only route back is to
Identification.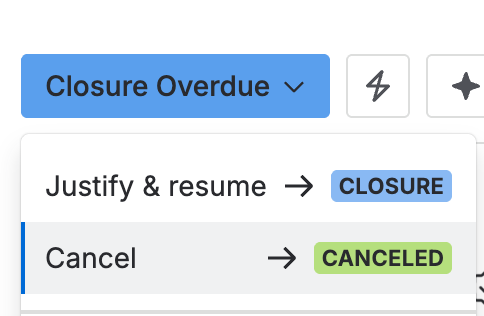
The status menu on a Closure overdue deviation, with Cancel available alongside Justify & resume.
Track the work with tasks
- Create a task from the deviation’s Actions field. It links to the deviation automatically.
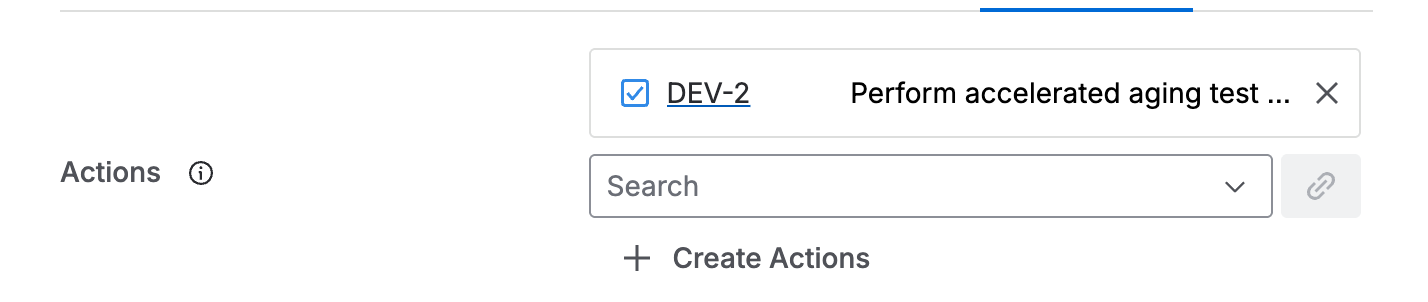
The Actions field on the deviation, linked to a task, with a search box and a button to create another. - Assign the task, set a due date, set the type (
DispositionorCorrective action), fill in the description with the scope and acceptance criteria, and set the approvers.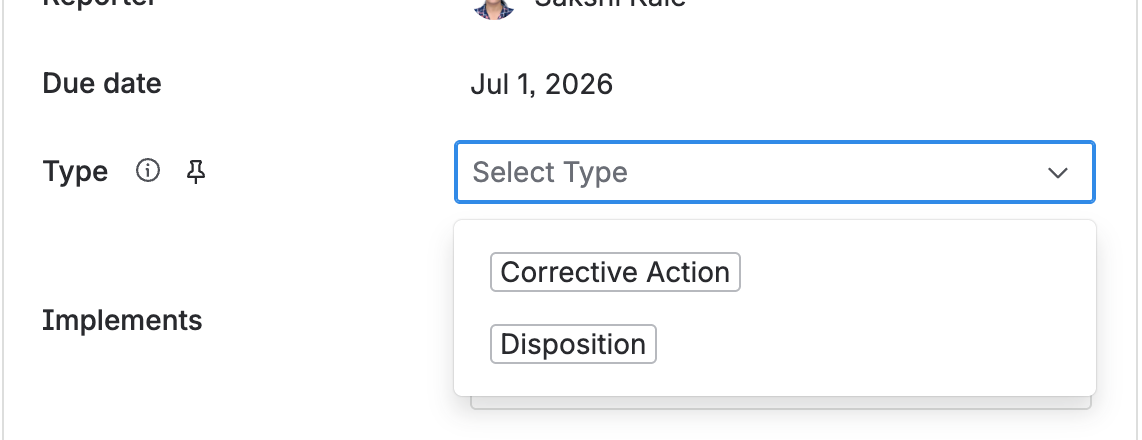
The task’s due date and type fields, with Corrective action and Disposition as the two type options. - The assignee clicks Start to move the task from
To dotoIn progress.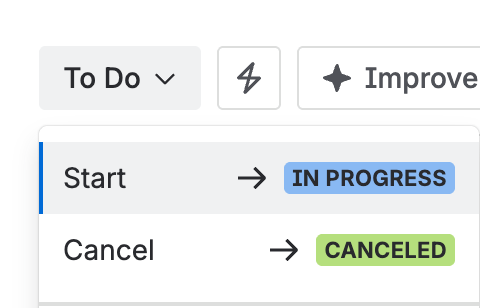
The status menu on the task, with Start moving it from To do to In progress. - Fill in the verification field with the work performed and the outcome, then click Review to move the task to
In review.Type and approvers are both required for this transition.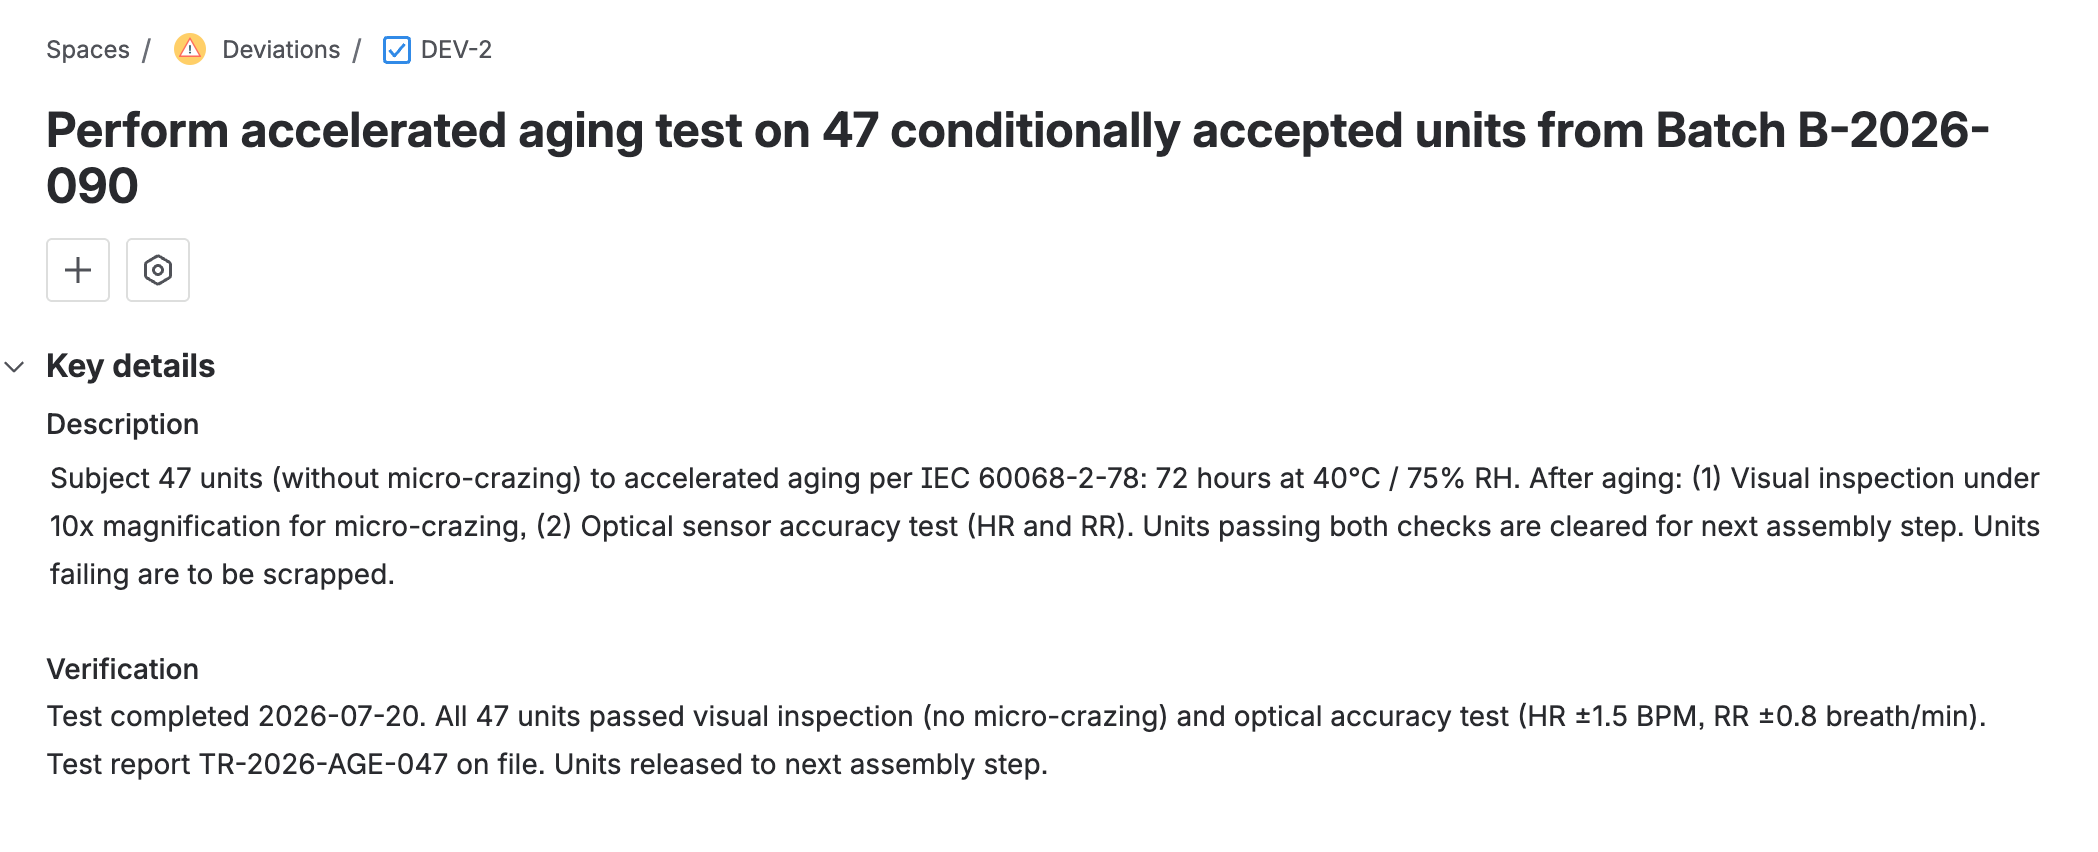
The task’s description and verification fields, both filled in with the scope and the work performed. - Each reviewer approves the same way as a deviation closure: click Reject or Approve, then enter the one-time password sent by email.
Doneis read-only. If rework is needed, the reviewer clicks Reject, which sends the task toReopened. The assignee then clicks Restart to return it toIn progress.- If a review sits too long, an automated transition moves the task to
Overdue. Fill in overdue justification and click Justify & resume to return it toIn review. - Canceling a task follows the same rule as canceling a deviation: only a Quality Events Administrator can do it, from any status.