
Guide
Installing Quality Events
Installing Quality Events takes three parts: add the app to your Atlassian site from the Marketplace, let the health check create and repair the configuration the app needs, then connect it to the other Qity apps you use.
Install from the Atlassian Marketplace
- Go to the Atlassian Marketplace at marketplace.atlassian.com.

The Atlassian Marketplace home page. - Select Sign in and sign in with your Atlassian account.
- Search for Quality Events for Jira.You can also open the Quality Events for Jira listing directly and skip to step 5.
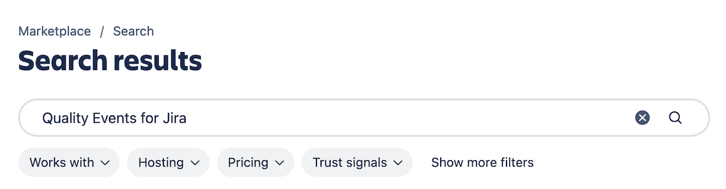
The Marketplace search bar with Quality Events for Jira entered. 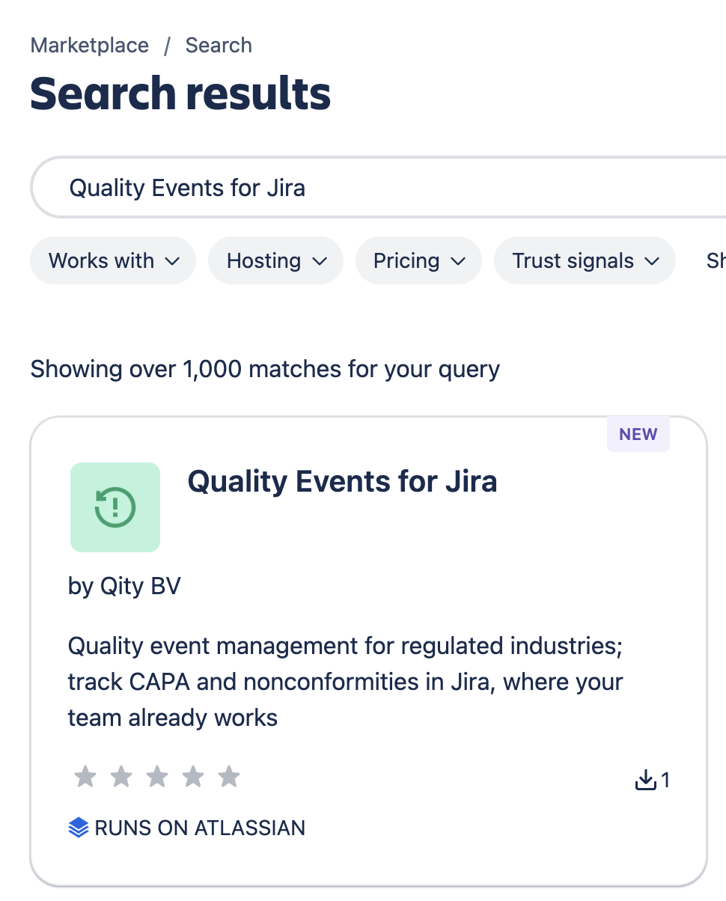
The search results, with Quality Events for Jira by Qity BV at the top. - Open the app listing from the search results.
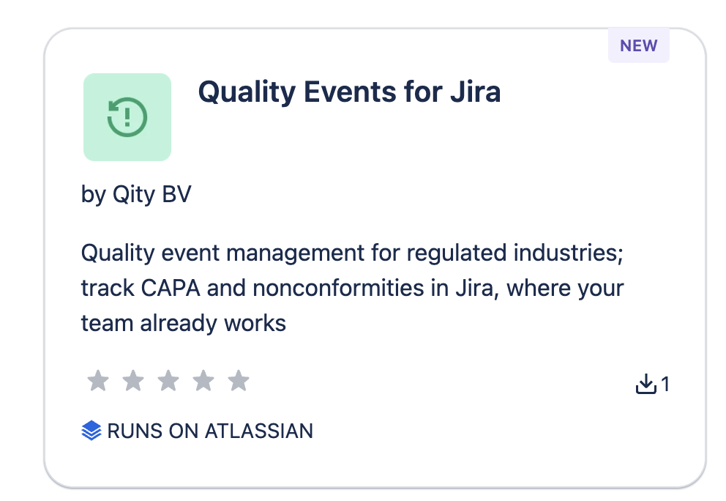
The Quality Events for Jira result card. - Review the app details, including supported products, pricing, permissions, and documentation.
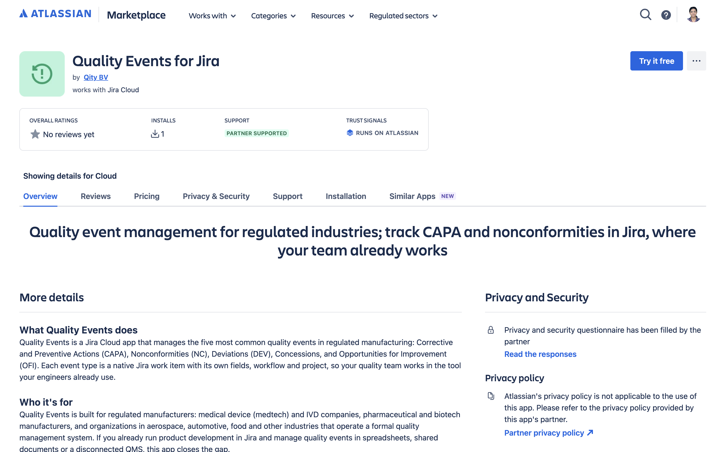
The Quality Events for Jira listing, with its overview, privacy and security details, and the Try it free button. - Select Try it free, or whichever install option the listing offers.

The Try it free button. - Choose the Atlassian site where you want to install the app.
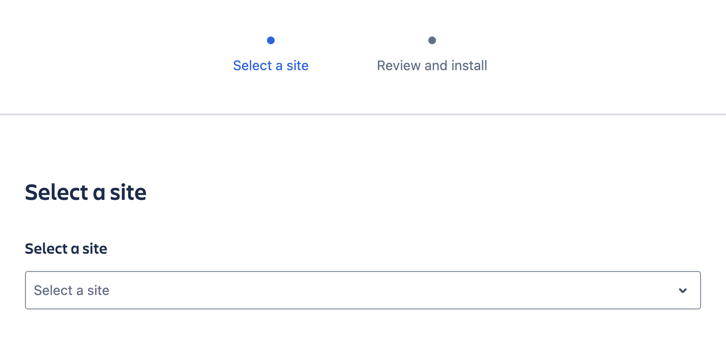
The Select a site step of the install dialog. 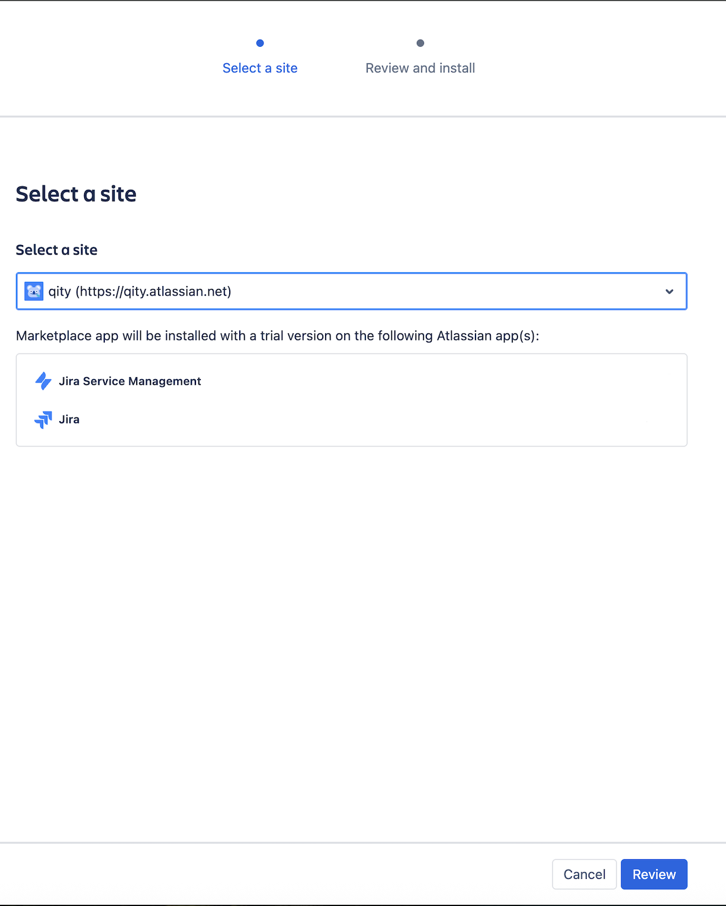
A site selected, with the Atlassian products the app will be installed on listed below it. - Click Review to continue.

The Review button. - Confirm the installation, approve the permissions the app requests, and click Start free trial.
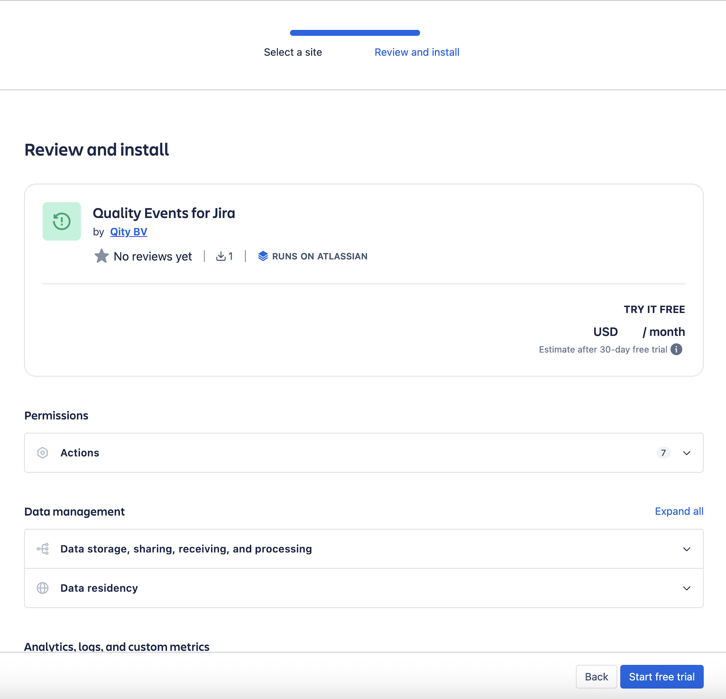
The Review and install step, listing the permissions and data management details, with Start free trial at the bottom. - Wait for the installation to finish, then open Jira to check the app is available. The Added mark on the listing confirms it is installed.
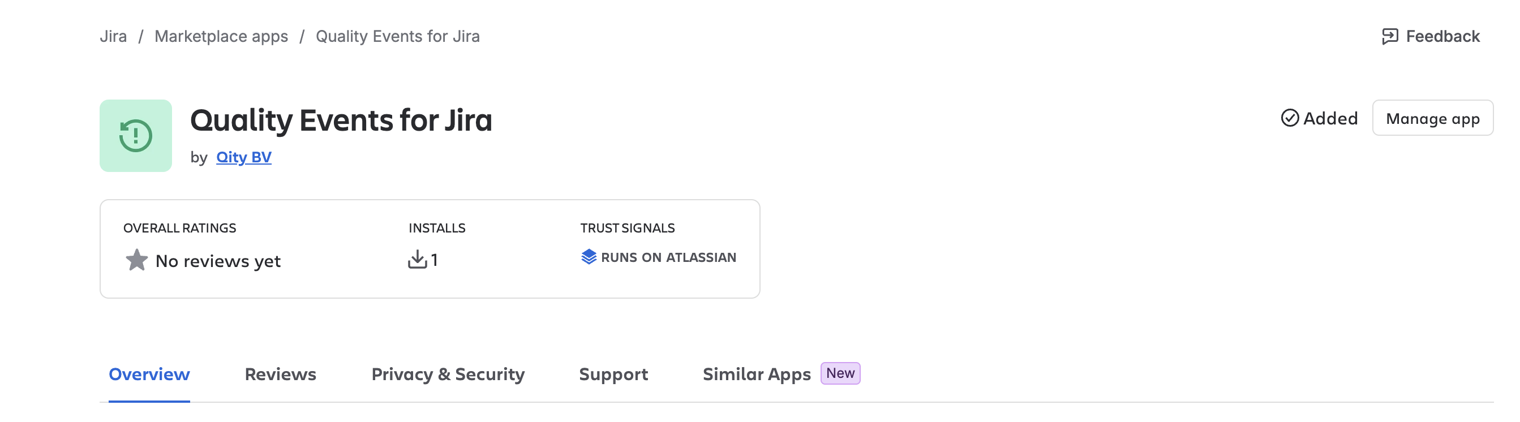
The Quality Events for Jira listing inside Jira, with the Added mark next to Manage app.
Run the health check
The health check evaluates the app's configuration and lists anything that is missing, then repairs it for you.
- Confirm that no Jira space already uses the key
CONC,DEV,CAPA, orDER.The health check needs these keys for its own spaces. If a space already uses one, it cannot set that space up. - In the Jira side menu, go to Apps, find Quality Events, click ••• next to it, and select App settings. This starts the health check.
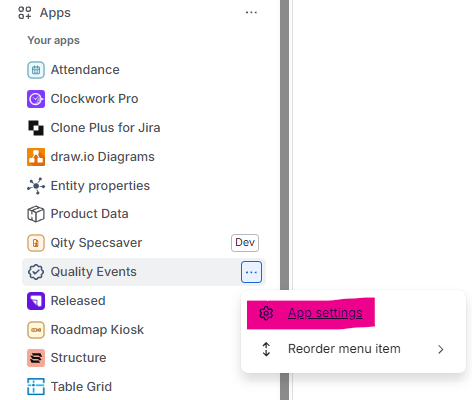
The Apps section of the Jira side menu, with the menu next to Quality Events open and App settings highlighted. - Wait while the health check runs. When it finishes, it lists every check with its result.
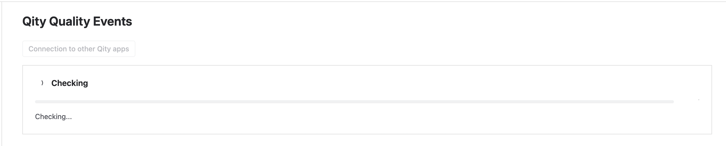
The health check running. 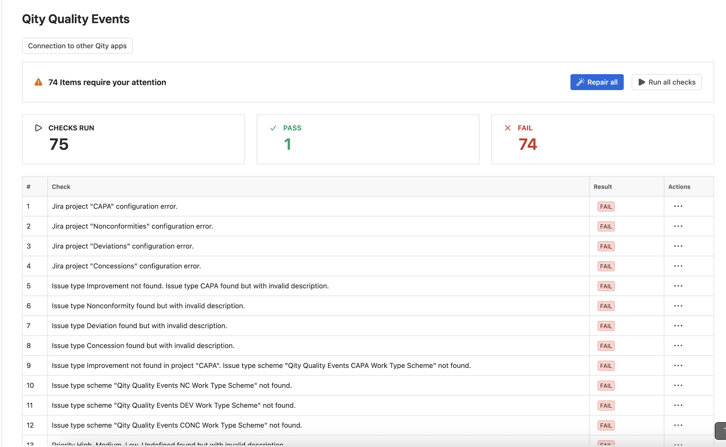
The health check results on a new install: 75 checks run, with the items that need attention marked FAIL. - Click Repair all so the app configures the missing items.After a repair, some checks can still need attention. Resolve them one at a time from the Actions column, or click Repair all again.

The health check repairing the missing items. 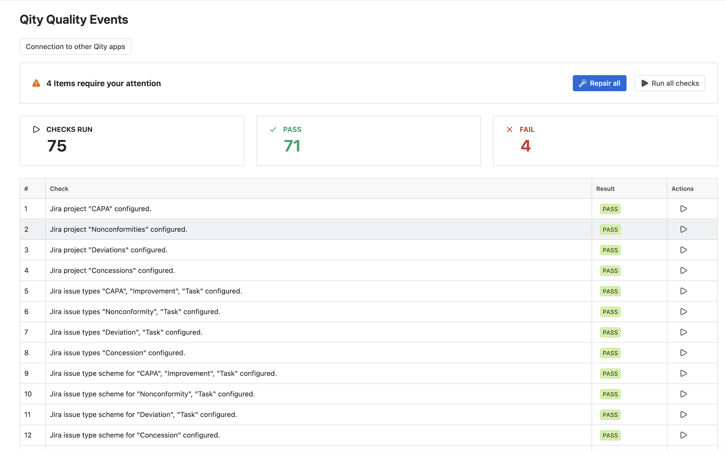
The results after the first repair, with four items still needing attention. - Make sure every check passes.
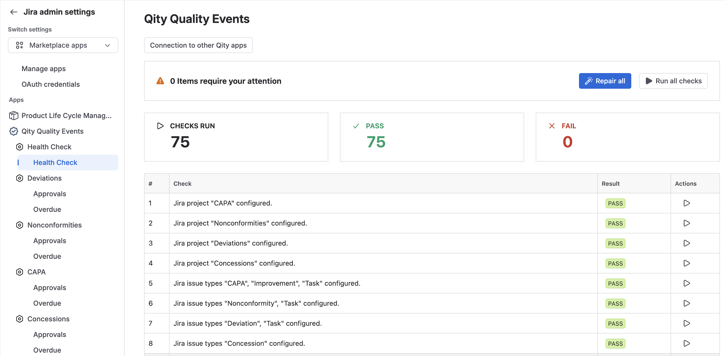
A fully configured health check: 75 checks run, 75 passed, and none failed.
Connect the other Qity apps
- Click Connection to other Qity apps, add or edit the connections to the other Qity apps and their configuration, and click Save.
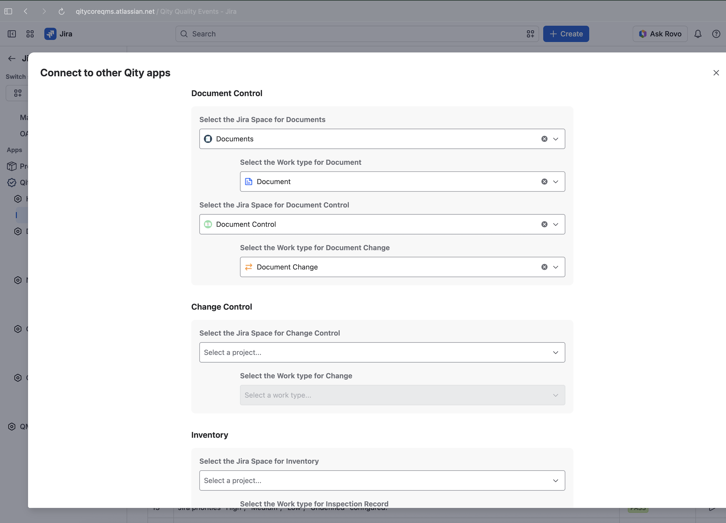
The Connection to other Qity apps dialog, with the Document Control and Change Control connections. 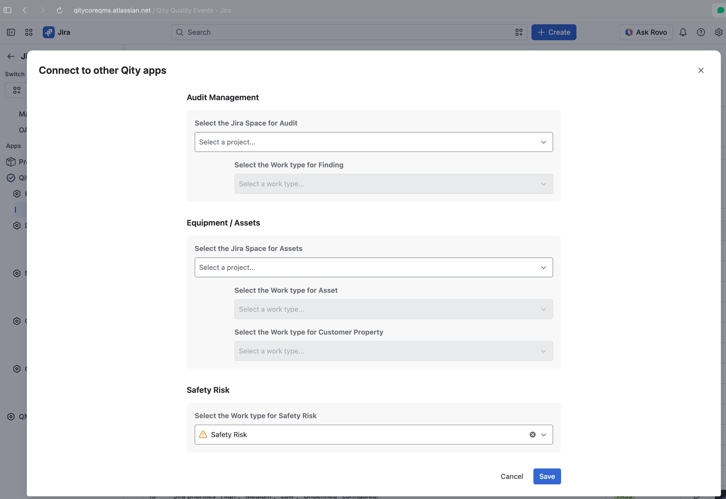
Further down the same dialog, the Audit Management, Equipment and Assets, and Safety Risk connections, with Save at the bottom.
Run the health check again whenever you edit the connections to other apps, and regularly after that, so the configuration stays complete.