
Guide
Manage roles
A role records what a person actually does, and which curricula they therefore have to complete. It is the link between your people and their training.
A role is not a job title
A title is the formal label on a business card, tied to seniority. A role is the set of responsibilities someone holds day to day. Training cares about the role, because that is what determines which training applies.
Create a role
- Open the Qity Training dashboard, filter on the Roles view, and click + New Role.You can also use the Create button at the top of any Jira page, as long as you set the work type to Role.
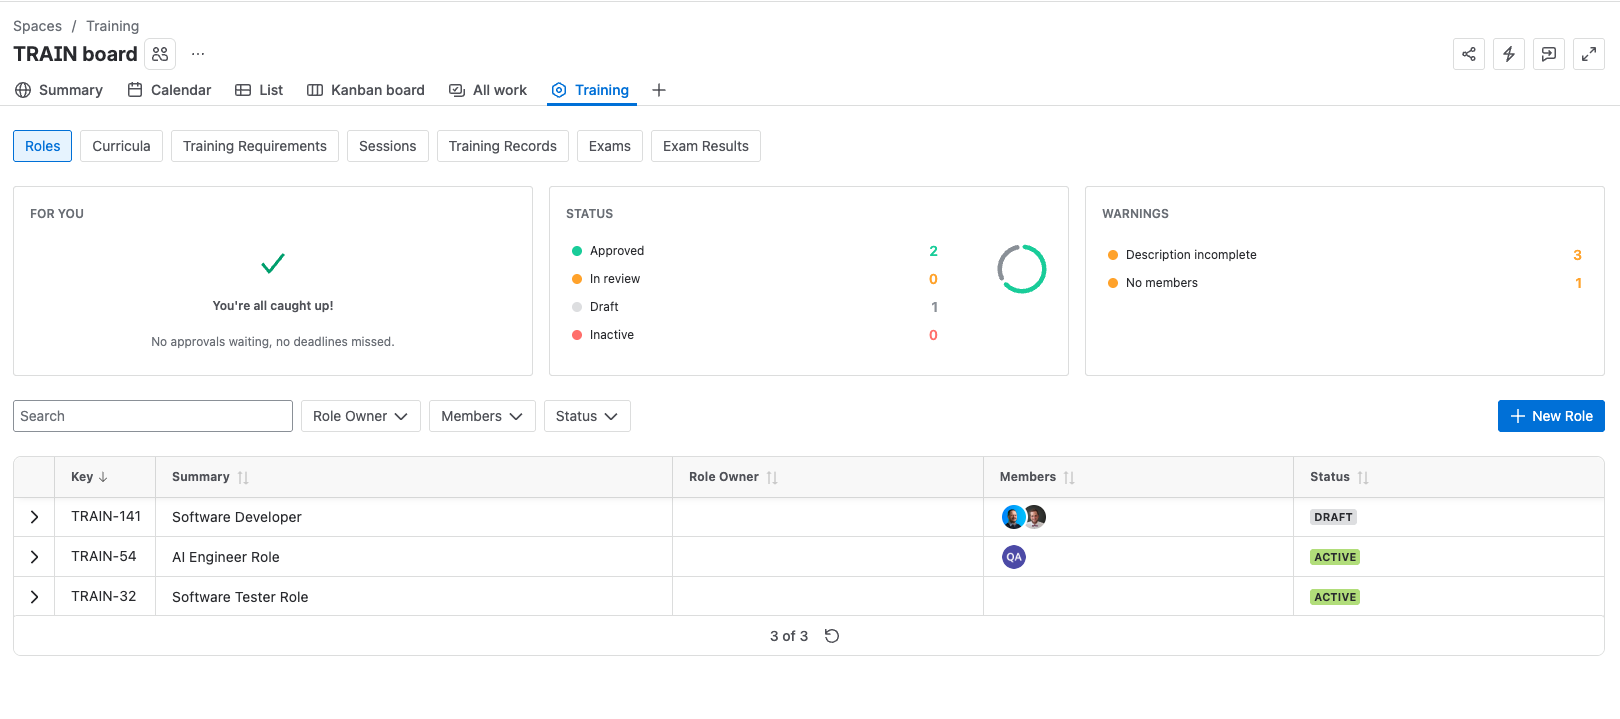
The Roles view on the Training dashboard, with New Role at the right of the filter row. - Enter the summary, which is the name of the role, and a description of what the role is responsible for.
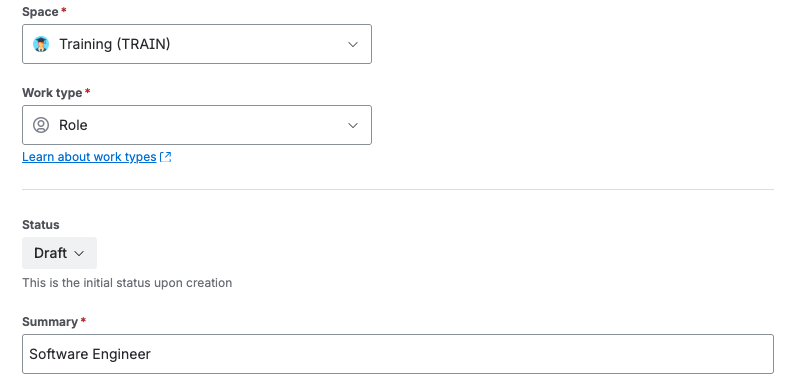
The role summary and description. - Set the role owner and the effective date. Both are required before the role can be created.
- Add the members who hold the role, and link the curricula they are required to complete.
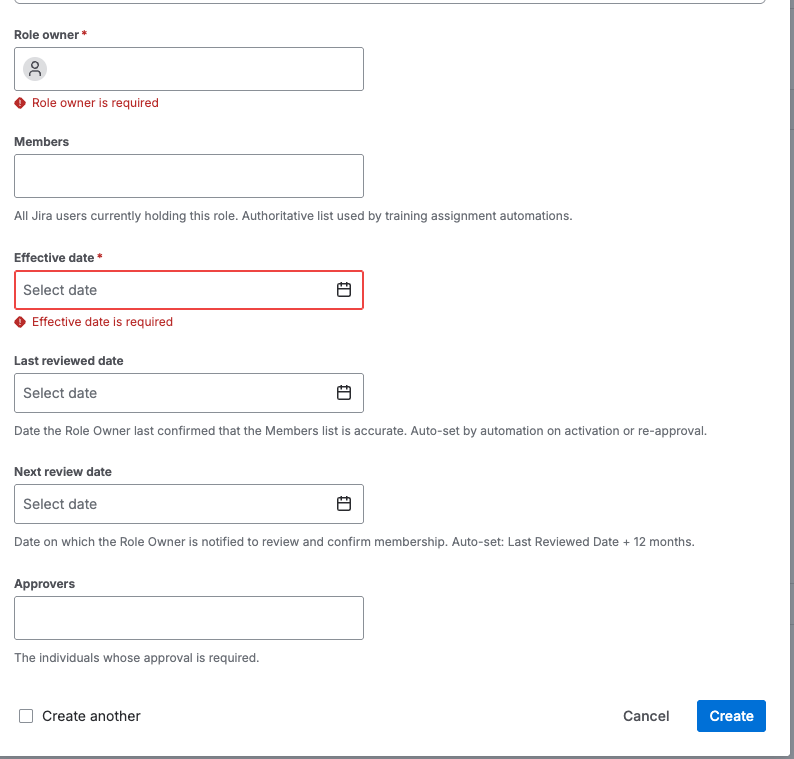
Members and the linked curricula for the role.
Approve a role
A role only takes effect once it has been approved. Approvals are signed with a one-time password.
- Open the role from the Roles view on the dashboard.
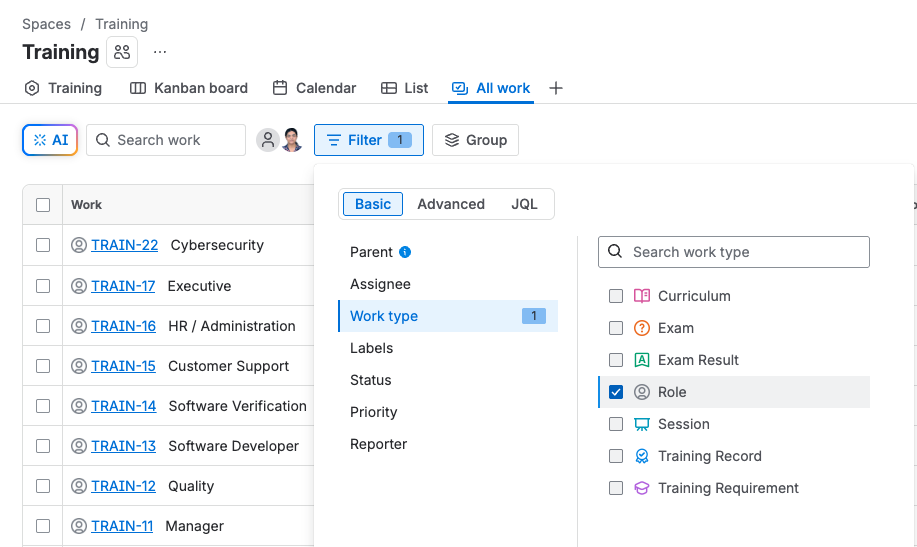
The Roles view, listing each role and its status. - Check that the role owner, members, effective date, last reviewed date, next review date, curricula, and approvers are all filled in.The approval will stall if the approvers field is empty, because nobody gets invited.
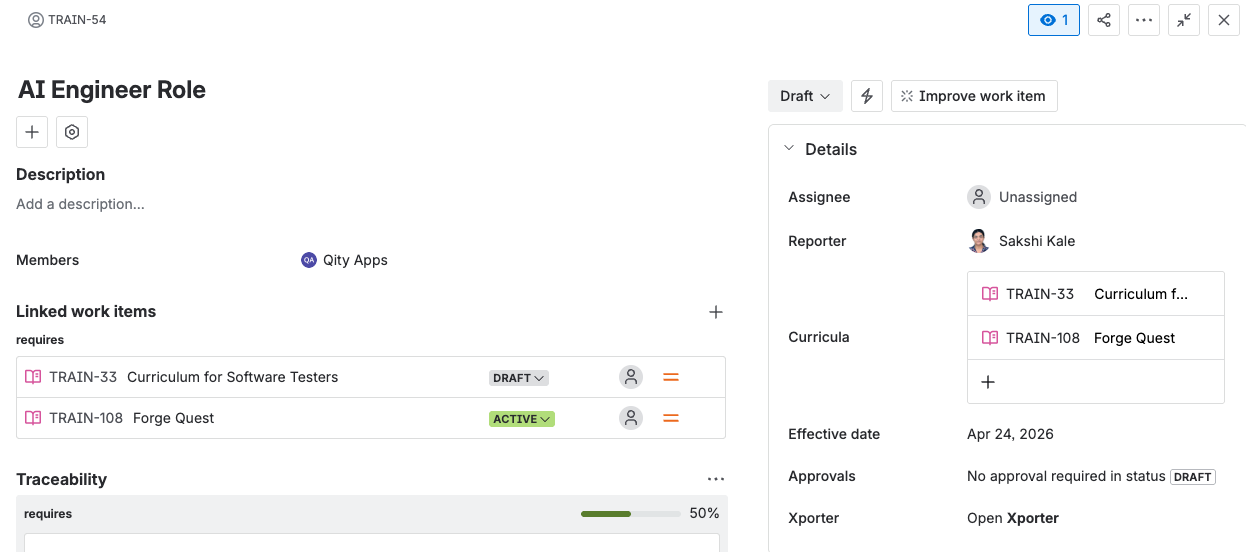
A role in Draft, with the fields that must be complete before review. - Move the role to In Review.
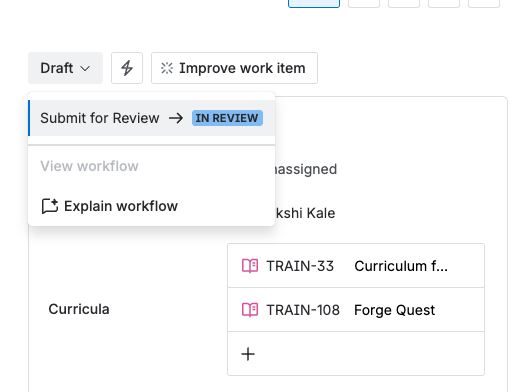
The status menu on a Draft role, offering Submit for Review. - Everyone in the approvers field is invited by email. Each of them reviews and decides individually.
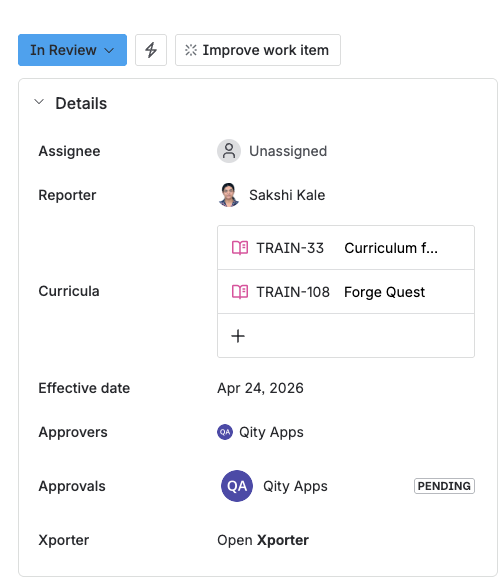
The Details panel of a role in review, with the approvers listed and their approvals pending. - As an approver, click Approve or Reject, add a comment if you need to, then enter the one-time password sent to your email.The one-time password is your signature. Without it the decision is not recorded.
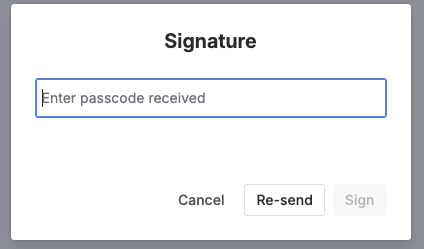
The Signature dialog, with the passcode field and the Sign button. 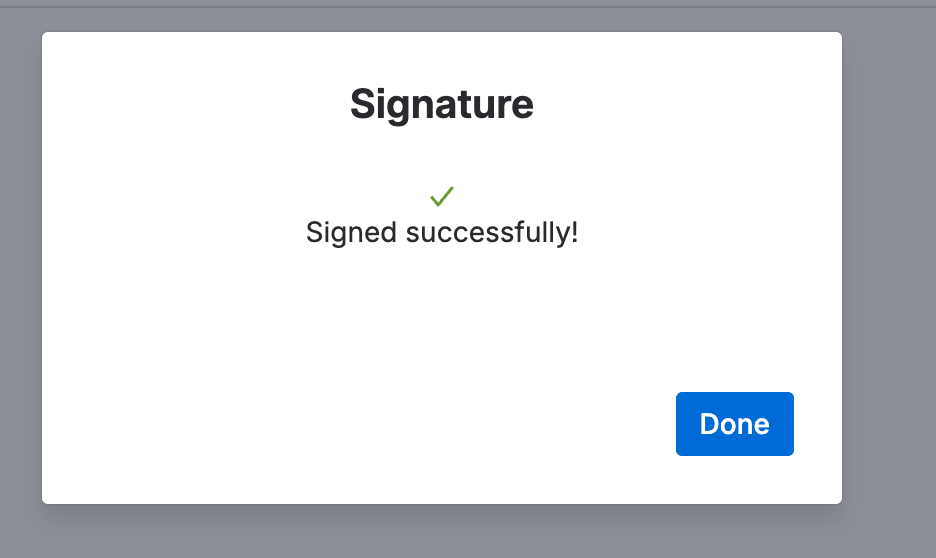
The confirmation shown once the passcode is accepted. - Once everyone has signed, the role moves to Active on its own.
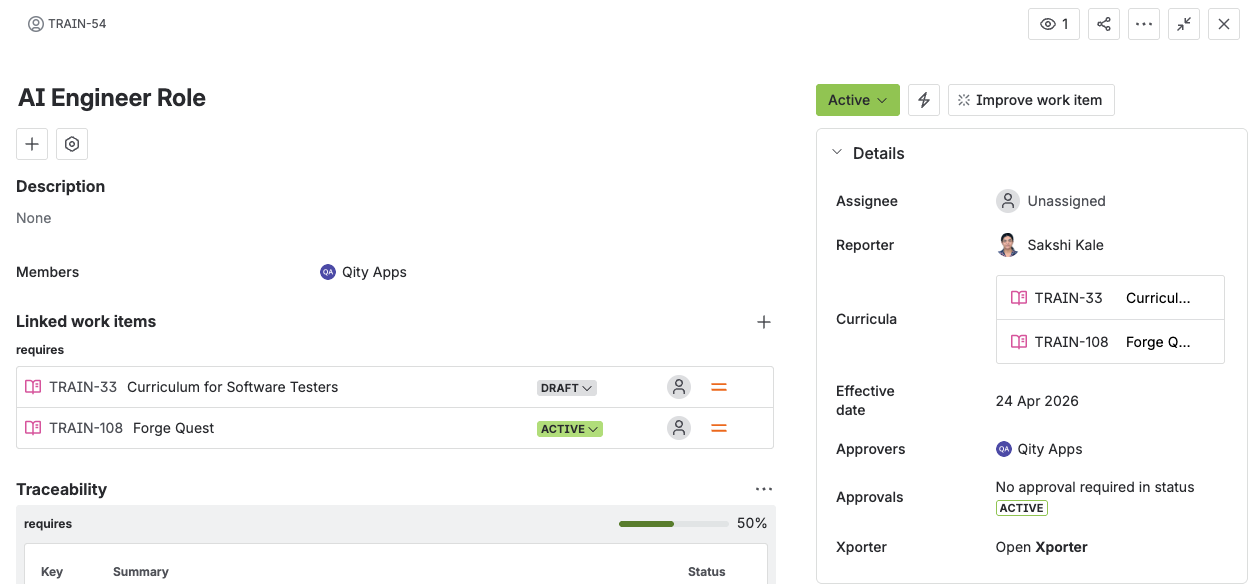
A role in Active status, with its members, linked curricula, effective date, and approvers. - If anyone rejected it, the role moves to Rejected instead and the owner is notified. The role owner then moves it back to Draft, addresses the comments, and starts the approval again.
Revise a role
An active role is read-only. To change one, take it back to Draft, which means it has to be approved again.
- Open the role and move it from Active to Draft.
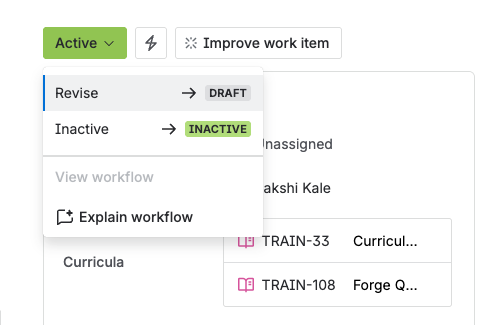
The status menu on an active role, offering Revise to move it back to Draft. - Make your changes, then move the role back to In Review and follow the approval steps above.
Retire a role
- Open the role and move it from Active to Inactive.
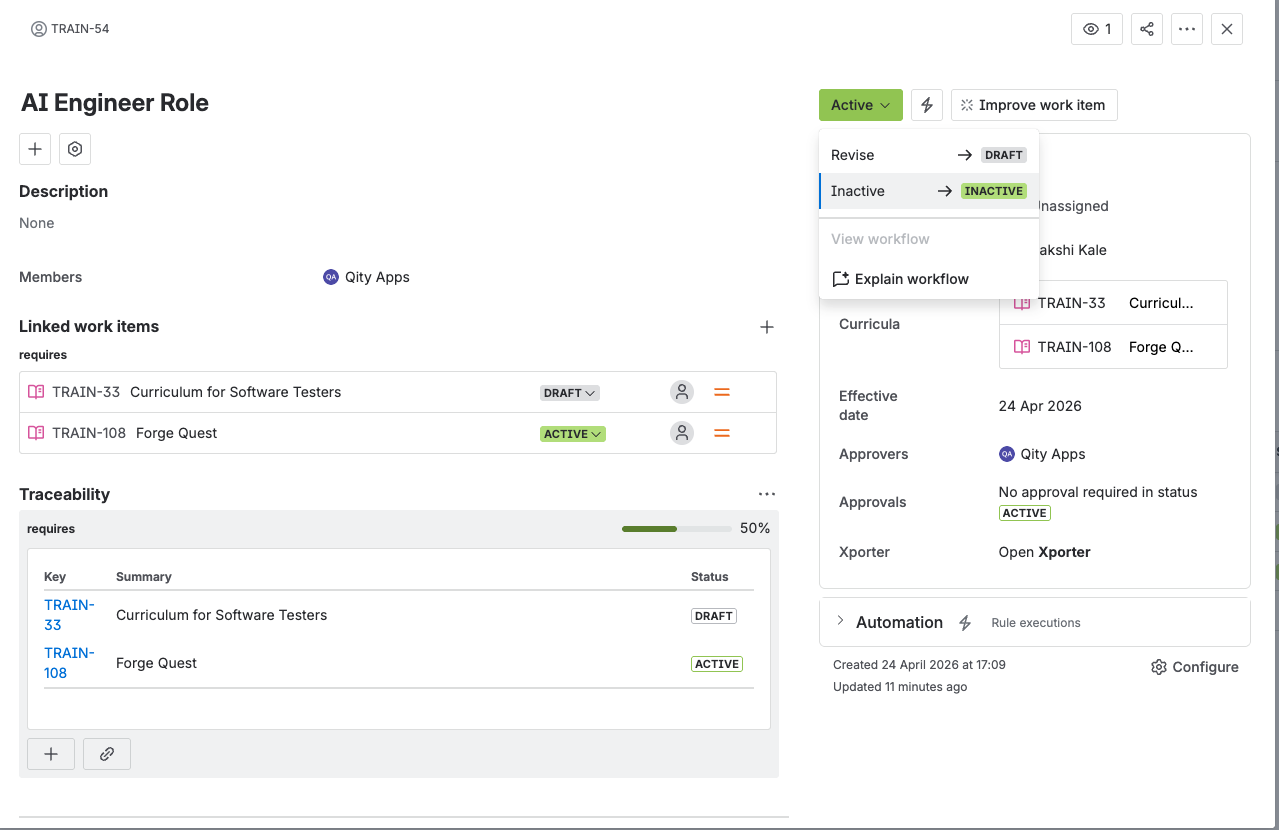
An active role with its status menu open, offering both Revise and Inactive.
Inactive is terminal for a role. The role can no longer be edited, and cannot be brought back. If you might need it again, revise it instead of retiring it.